Adding solar power to your 4x4 is a game changer for camping and touring; rechargeable lights, speakers, fridges, etc., can all be run indefinitely with a sufficient-sized battery and solar panels, as long as the sun is shining.
More sophisticated setups with multiple batteries, multiple panels, and power usage monitoring can get quite technical, but, a simple setup to power accessories for an average camper is very approachable with a little research. That's what we'll be focusing on here, not getting into every minute technical detail, but providing the basics to get you started.
For the sake of this article, we'll assume you're adding a second battery to run your accessories and recharge through solar, keeping your starter battery separate (if you did want to recharge your starter battery with solar though, much of the same information applies).
Here we'll cover:
- 12v batteries, and:
- Know the chemistry of your battery.
- Know the AH (amp- hours) of your battery.
- 12v solar panel(s) or blanket(s).
- Solar regulator/charge controller.
- Connecting it all
There are a few technical summaries to start, bear with me, these will all come together at the end.
Batteries and solar charging
Battery Chemistry
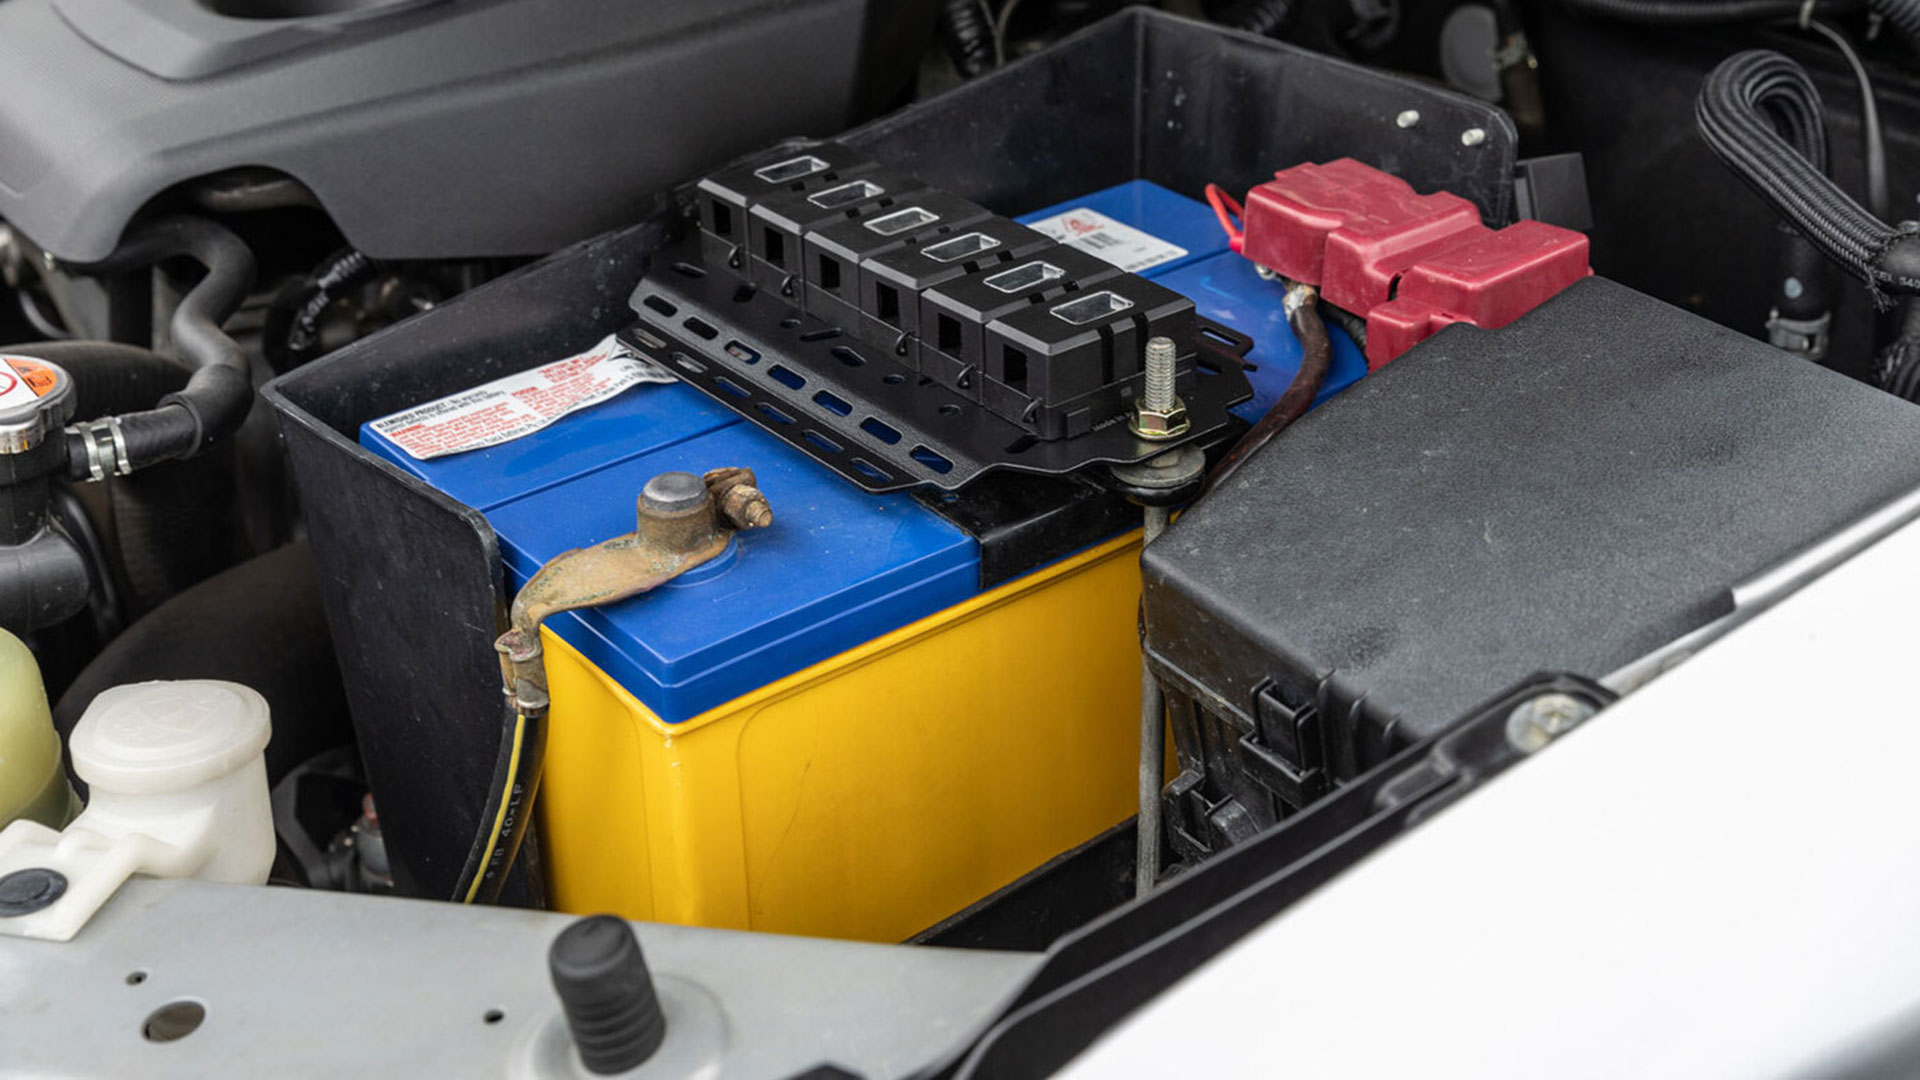
12 vehicle batteries come in a variety of chemistry types. Broadly speaking, the most common types are:
- Flooded Lead Acid (FLA).
- Enhanced Flooded (EFB).
- Calcium.
- Absorbent Glass Mat (AGM).
- Lithium.
Which battery to choose is a topic all of its own which we'll cover separately, but for the purposes of solar, the importance of knowing your battery's chemistry is so you can pair it with an appropriate charge controller (more on this later).
Different battery chemistries require charging at different voltages and can be charged faster, or slower, depending on the type. Not all charge controllers support every battery type (e.g. many cheaper controllers do not support lithium batteries) and if using the wrong charging profile, at best battery performance and life will be reduced, at worst the battery will be rapidly damaged and/or destroyed.
Battery amp-hours (AH)
"Amp-hours" is a measurement of how much power a battery can provide over time. The following is oversimplified and doesn't cover some real-world limitations of batteries and charging, but as a rough principle for demonstration purposes, a 100 AH battery can provide 1 amp for 100 hours, 2 amps for 50 hours, 10 amps for 10 hours, and so on.
The same works in reverse for your solar charging.
If a 100 AH battery is dead flat, and you have a larger panel producing a maximum of 10 amps, it would take 10 hours of full peak sunlight to fully charge the battery.
If you have a medium size solar panel producing a maximum of 5 amps, it would take 20 hours of full sunlight to fully charge a 100AH battery.
If you have a small solar panel producing a maximum of 2 amps, it would take 50 hours of full sunlight to fully charge a 100AH battery.
In theory, a very small solar panel can charge a larger battery bank. In reality though, there obviously aren't 50 hours of sunlight in a day. In this last scenario, the panel is really much too small, and common appliances like a 50L fridge and multiple camp lights, would be draining power from your battery faster than a small panel charges it. You would have some power throughout the day while the sun is out, but the battery would be dead from dusk until dawn.
It's also important to note that for all lead-acid based batteries, you can only use about 50% of the stated power. A 50AH lead-acid battery can only really provide around 25AH of usable power. Once below this point, the voltage of the battery drops too low to be usable for most appliances, and you will also be damaging the battery through repeated too-deep discharge.
With current technology, lithium batteries can supply around 90% of the rated power, and be safely deeply discharged and recharged without being damaged. A 50AH lithium battery will provide much closer to 50 AH of actual usable power.
Keep these things in mind when selecting a battery, and your solar panel size, to make sure they're sufficient for your needs. You will need to find out how much power your devices draw, so you can then choose a suitable-sized battery and solar array; your install/supplier should be able to assist with this.
Solar panel(s) or blanket(s)
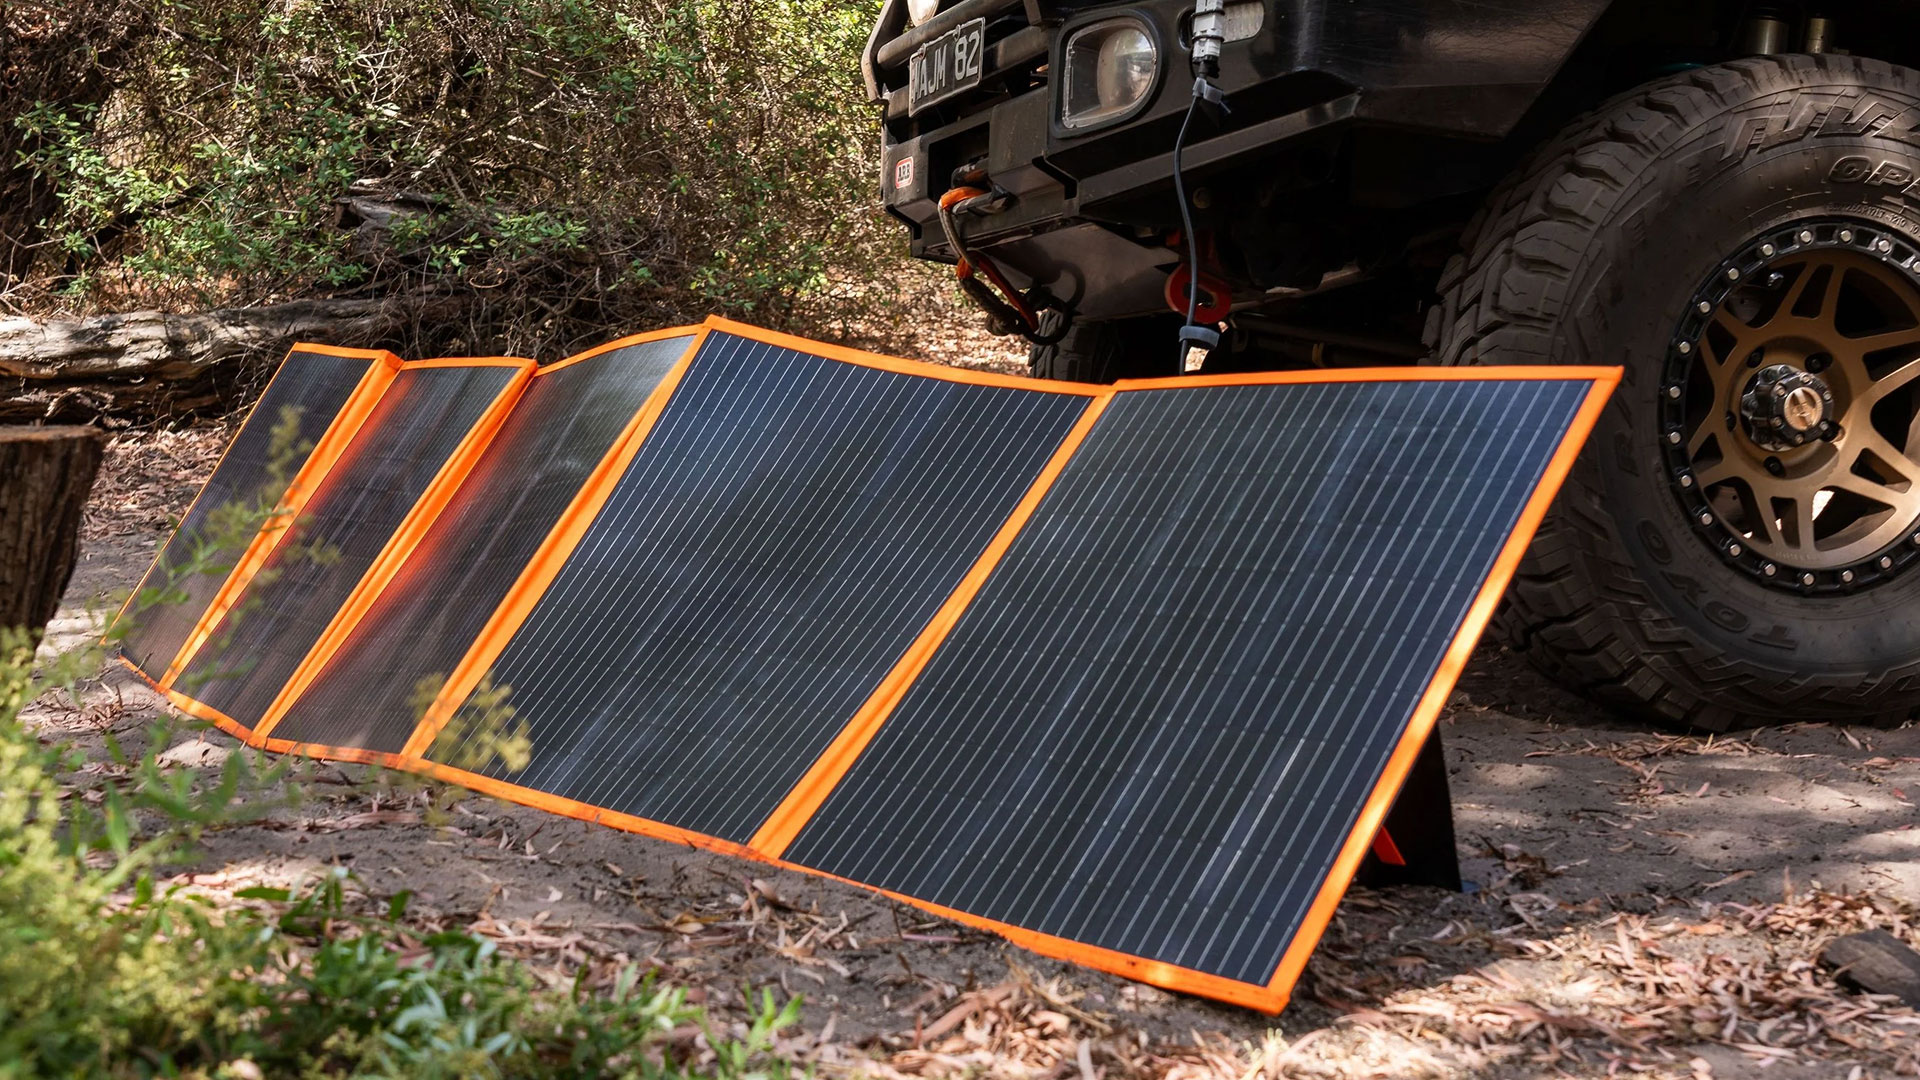
Solar panels come in a few options, most commonly fixed rigid panels, or foldable solar "blankets" as pictured above.
The first thing to note is that whether you go with a fixed panel or foldable blanket, you won't get 100% of the stated power.
For a 100w panel, for example, 100w is the maximum theoretical power produced under ideal laboratory test conditions; this is intense light applied directly overhead, at close range, in a clean environment, and at moderate temperatures.
In reality, the angle of the sun, cloud cover, fog, heat, rain, dust, etc. all reduce the output of your panel(s).
A quality fixed panel will provide higher output than foldable blankets, somewhere around 75% under ideal conditions, but the efficiency of a fixed panel comes at the cost of occupying a lot of space.
Foldable blankets will operate somewhere lower, around 60%, but come with the convenience of packing down into a fraction of the size. This has the advantage of allowing you to add multiple blankets for more power, without being limited to the size of your roof rack to mount them (and sacrificing the use of the roof rack for other things at the same time).
In either case, both fixed panels and solar blankets are viable options. What's best for you will depend on your setup and available roof space.
A note on multiple panels
You can connect multiple panels/blankets to increase your power. Multiple panels can be wired in two different ways which are covered in a dedicated topic here: Parallel vs series solar panels.
Solar regulators/charge controllers
Your solar regulator is the brain of your setup, which controls how your battery is charged and prevents it from being damaged by excess voltage or current. Batteries require higher voltages when charging from a discharged state (called "bulk" charging), lower voltages as they approach full charge (called "absorption"), and an even lower "float" charge when full, just to maintain the full battery.
The particular voltages vary depending on the battery type, but as an example, an AGM battery would typically have a "bulk" voltage of around 14.8v, which drops down to a "float" charge voltage of around 13.2V once the battery is full.
The majority of solar panels are "unregulated", meaning they will provide however much power they can. This could actually be up to 20v on a standard 12v panel and will jump up and down constantly throughout the day as cloud cover, shadows, or sun pass over the panel. The same happens for amps generated. Without a solar regulator, this random influx of excess voltage would quickly damage and kill your battery.
The solar regulator converts this fluctuating power into a steady stream of the correct voltage for your battery.
MPPT vs PWM regulators
Solar regulators come in two varieties, Pulse width modulation (PWM), and Maximum Power Point Tracker (MPPT). There's plenty of detailed information out there if you want to get technical about these, but the key takeaways are these:
PWMs are a cheap controller option designed for small systems, where the output of the solar panel is similar to the battery voltage requirements. PWMs pulse on and off, measuring the voltage of the battery in between pulses. When the measured voltage shows the battery still needs charge, it pulses once again, before stopping to take another measurement. This works, but the process is not very efficient. PWMs are also not suitable for larger solar systems where the panel voltage greatly exceeds the battery.
Basically, they're cheap units, for small systems.
MPPT controllers, on the other hand, offer more sophisticated charging and will work with a wider range of solar arrays. In addition to being able to accept higher voltages (from connecting multiple panels in series, for example), MPPT controllers constantly measure the voltage of your panels and battery and adjust for optimal charging without the "stop-start" process of cheaper PWM controllers. All else being equal, an MPPT controller will charge your battery about 20% faster than a PWM in the same circumstances.
They are a little more expensive, but I would recommend MPPT over PWM controllers in just about every case. An MPPT controller will do a better job than a PWM, and also provide some future proofing for if you need to add additional solar panels to your 4x4 in the future if you need grow.
Connecting it all
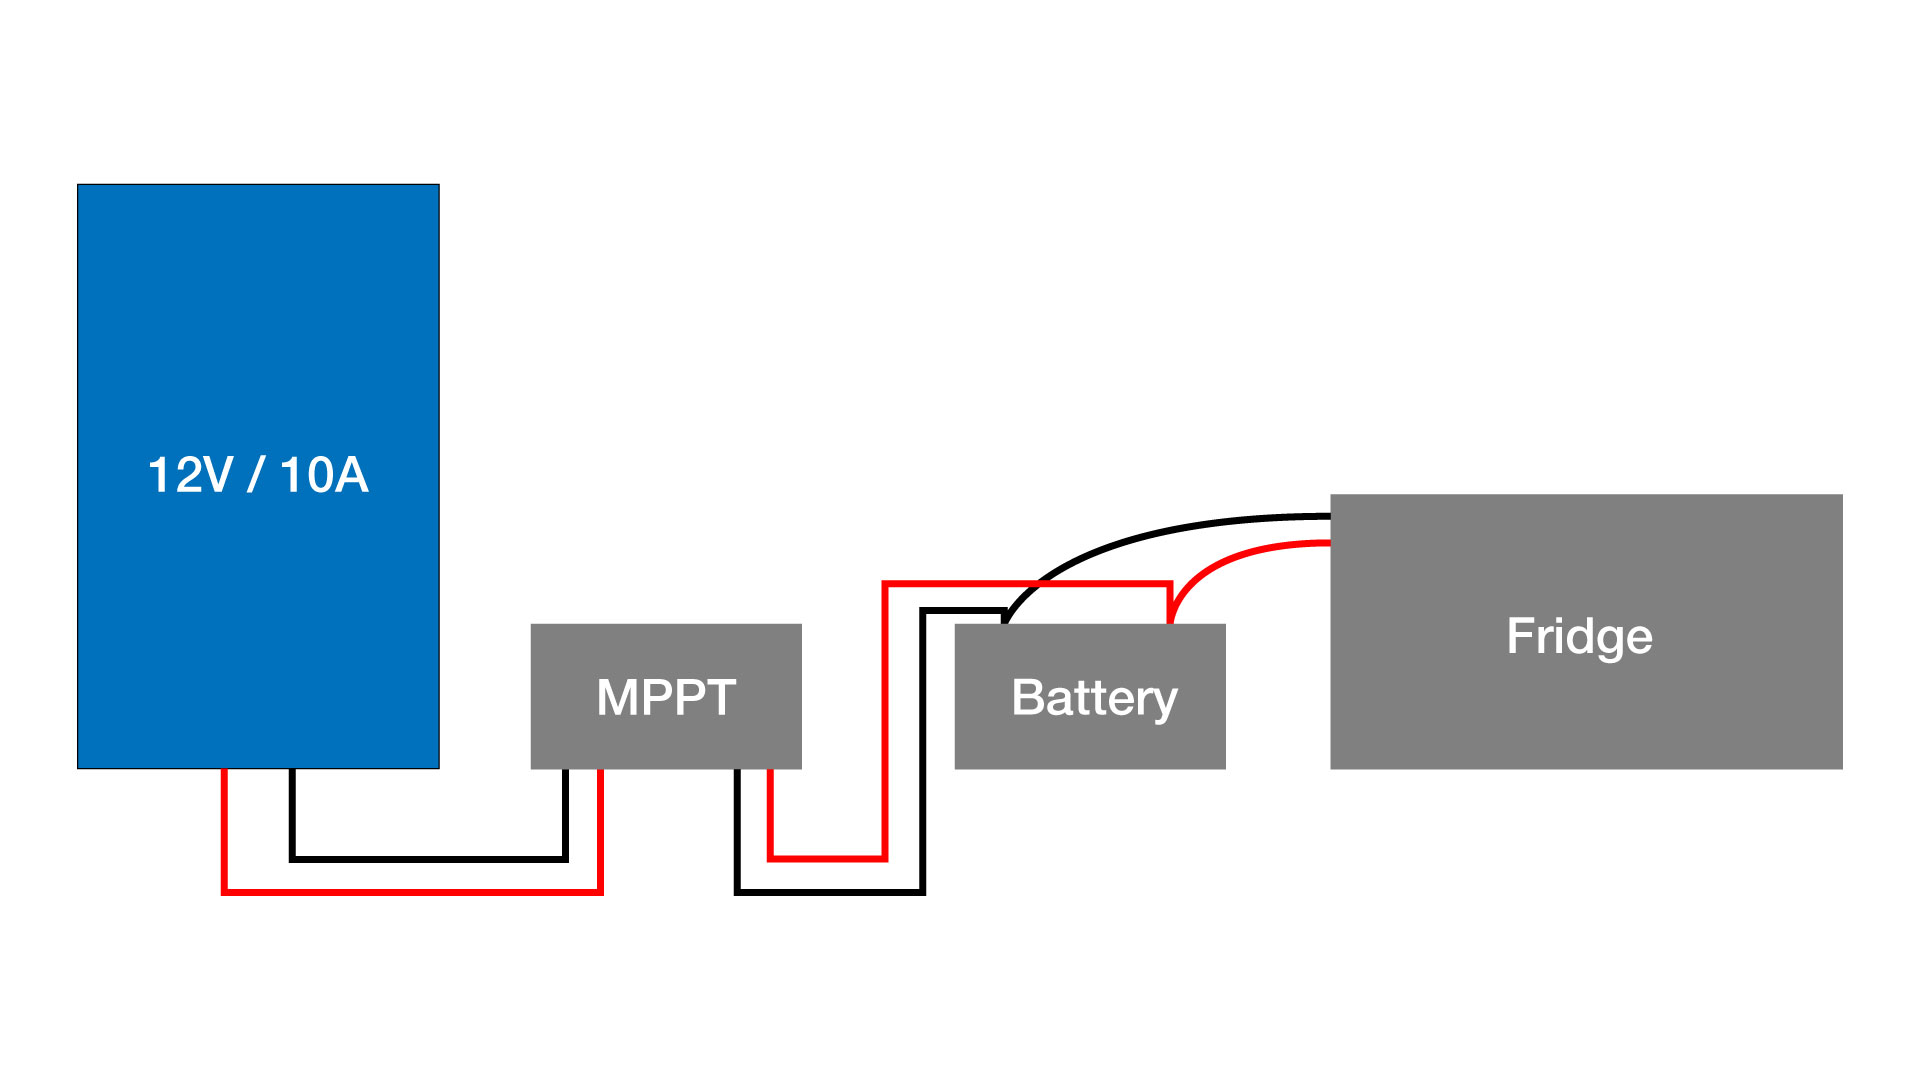
Above is a simplified diagram of how a basic 12v solar system comes together.
1. Your solar regulator will have connections for 'Panel voltage', which you connect your solar panel(s) to.
2. It will have connections for 'Battery', which you connect to your battery (of course).
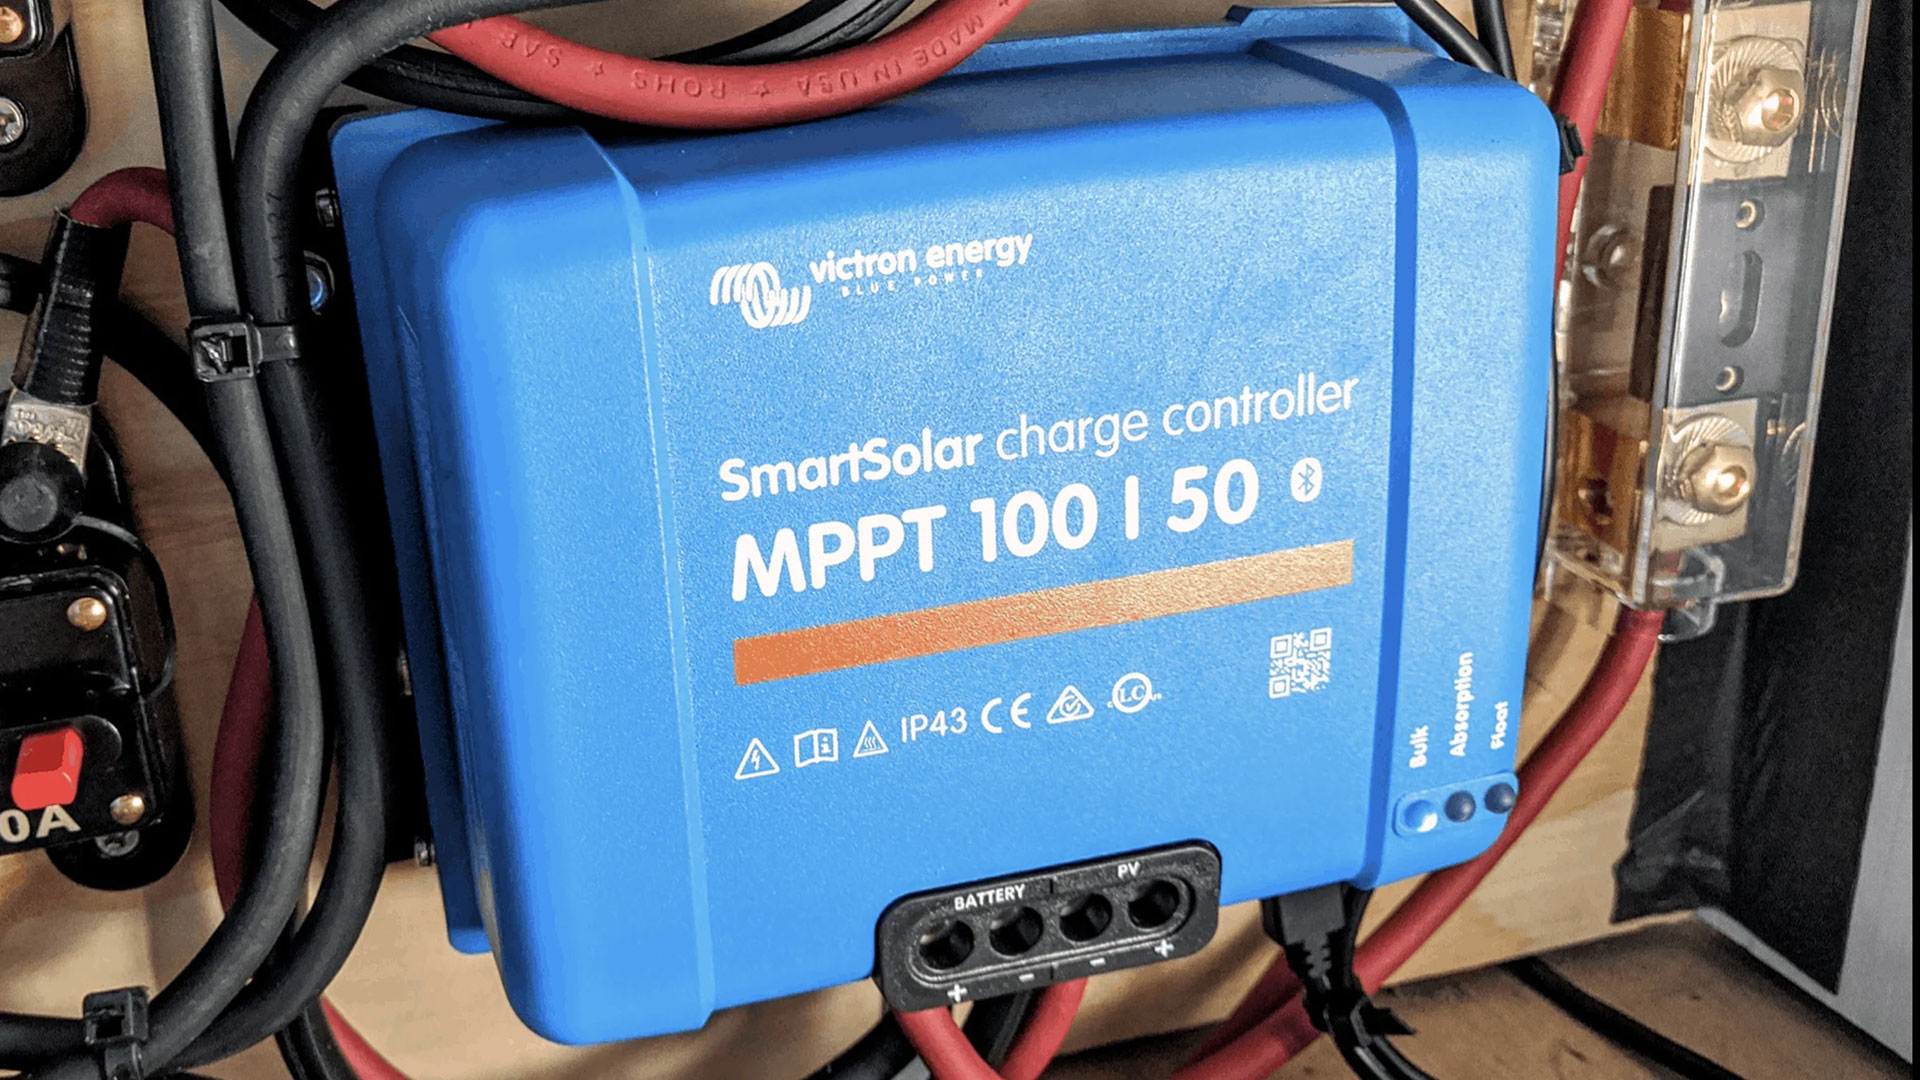
( You can see both of these on the photo of the blue Victron MPPT Smart Charge solar controller in the "Solar regulators/charge controllers" section above. )
3. Your electrical loads (e.g. a fridge in the example above) connect directly to the battery.
This is not a comprehensive installation guide, obviously - this does not include things like fuses, wire gauge, connection plugs, etc. - but as you can see the basics of adding a simple solar setup to your 4x4 for off-grid power are not terribly complicated.
Before proceeding with your solar installation, speak with your installer or equipment supplier for further details on installation; technical particulars like fuses will depend on the size of your desired solar array, the appropriate wire gauge (size, and how much current it can safely handle) to use will depend on the array size, as well as the length of cable for your install.
There are too many variables to accurately summarise these components here, but any quality provider should be able to help fill in these blanks for you and complete your off-grid 4x4 solar setup.
Read section again:
Battery chemistry and AH
Solar panel(s) or blanket(s)
Solar regulators/charge controllers
Connection diagram
# 4x4 solar panel setup, add solar panels to four-wheel-drive, 12v solar power setup for touring.


