When you take your new winch out of the box, even if the rope/cable comes pre-spooled on the drum it is not ready for use.
If you spool your winch all the way out, you’ll find there will be a grub screw, or some basic mechanical fastener connecting the line to the drum, but this is just to hold the line on the drum so it doesn’t come loose during the initial setup. This screw will not hold the weight your winch is rated for.
Why do you need to pre-tension a winch?
What actually keeps your winch line from pulling free under load is the friction between the drum and the layers of line wound around it. If you apply a heavy load to a loosely spooled rope or cable, especially if the majority of the line is run out leaving little left on the drum, you’re almost certain to tear the locator screw out, and the line off.
Without pre-tensioning your winch, you’ll also cause premature wear to your winch cable or rope. With loose layers of line wrapped around the drum, when the winch is under load the upper layers will be forced down through the loose spools, kinking or causing abrasion to the line, and potentially snagging on the drum, causing a mess of a bird’s nest.
This is particularly important when winching with synthetic rope, as the diameter of the rope shrinks under load. This is normal but does create an additional opportunity for loaded layers above to be forced down through spools below.
And by “loose” we don’t mean literally flopping around on the drum. Recovery of a heavily bogged loaded 4WD and/or trailer can be thousands of lbs of resistance. Spooling the line onto your winch so it’s ‘snug’ by hand won’t cut it.
This is where pre-tensioning your winch comes in.
What you need
- A space with a flat surface, or one with a slight incline (just enough that the vehicle will roll back on its own, not a steep hill).
- In either scenario above, this space needs to be longer than your winch line.
- An anchor point at one end of your space; a thick tree or strong bollard.
- A tree protector strap, and a bow shackle (ideal if using a tree protector) or soft shackle to connect to your anchor point.
- Ideally: A mate to guide you on distance, and monitor the spooling of the winch. It’s not impossible to pre-tension your winch by yourself, but doing it with a mate will make the process 10x easier and faster; highly recommended.
- Don’t forget your winch remote.
How to pre-tension your new winch
When completing this on a flat surface or incline (more on each method later), the preparatory steps are the same.
1) Attach your tree protector or soft shackle to your anchor point, and connect your winch line.
2) Position your 4WD directly facing your anchor point in a straight line.
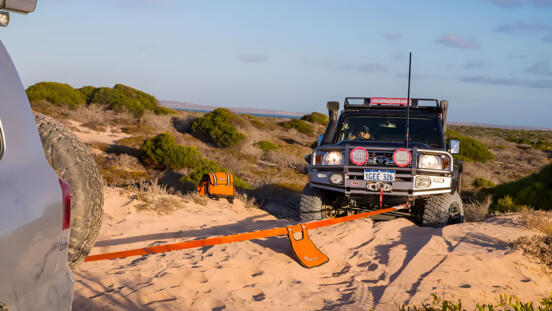
3) Your 4WD should be the full length of your winch line away from the anchor point, so you can fully unspool the winch and lay the rope/cable in a straight line between your winch and the anchor point. Get roughly in position, disengage the clutch of your winch to allow you to pull the line out and take it to your anchor point.
4) With your 4WD in position, you need to winch on 8-10 spools of line, tensioning by hand. Re-engage your winch clutch, and while keeping the line taught power the winch to pull in the 8-10 spools while making sure the loops are being laid directly next to each other with no gaps; holding the line at a slight angle towards the loops already laid on the drum should do this.
The line should not be taught and pulling the weight of the vehicle at this point. You’re just manually looping on the required starting spools. Also, ensure your winch is pulling the line onto the underside of the drum, not over the top.
Safety note: Do not hold your hand close to the fairlead while pulling in these initial loops. It might be tempting to hold the line a few inches from the fairlead to control the feed as much as possible, but if you value your fingers, don’t.
Winches don’t stop instantly. Once power is stopped, your winch will continue to pull for a further one or two seconds. If you catch your glove or finger in the line, it doesn’t matter how quickly you react with the controls, it will still have more than enough force in those last two seconds to pull your fingers in despite the winch being “off”.
If pre-tensioning steel cable, wear a set of protective gloves. While synthetic rope is quite soft and can be handled with bare hands without any problem, it can still pick up debris and abrasives, as well as give rope burn. Gloves are recommended either way.
5) With your preparatory few layers of line spooled around the winch, slowly reverse your vehicle to take up the slack in the line, so that when you start winching you immediately get the tension of the vehicle load, not another meter of slack line. The line should be taut enough to be off the ground but don’t reverse so far that you are stretching the line.
You should now be looking at something like this.

If so, you’re ready to start winching. As mentioned above, you can pre-tension your winch on a flat surface, or one with a slight incline. This is where the processes differ slightly. In either case, your engine should be running to power the winch, and not deplete your battery.
If tensioning on an incline
In this example, we will assume you have a mate helping you. One person will be in the driver’s seat to control the vehicle, the other person will be outside to operate the winch controls and direct the driver if any steering corrections are required to keep the vehicle straight
With everything set up as above, ensure the vehicle is in neutral, with the driver applying the brakes enough to halt the vehicle. The brakes don’t need to be 100% locked, as you will need to allow the vehicle to move forward as part of the process, but the vehicle mustn’t be allowed to roll back and shock-load the winch.
Start the winch pulling in the line, once the winch has taken up enough slack and begins to pull the vehicle forward, the driver can smoothly release the brakes to allow the winch to take the weight of the vehicle and begin pulling it further up the incline.
From here, it’s really just a case of completely winching the line in, creating the required tension through the weight of the vehicle. As the winch operator, pay close attention to the drum and ensure the layers of the line are going down in tightly packed loops, with no space between them. Gaps may start to open up if the driver gets off-center, which is why you’re there to provide direction. Complete this process, until there is a metre or so of line left between the vehicle and anchor point.
The line may also stack up and start going back in the opposite direction before reaching the far side of the drum. If this occurs, stop winching, and have the driver apply the brakes. Disengage the winch brake and pull out the line until the stack is clear. Resume winching, and have the driver correct their angle so the stacking does not occur.
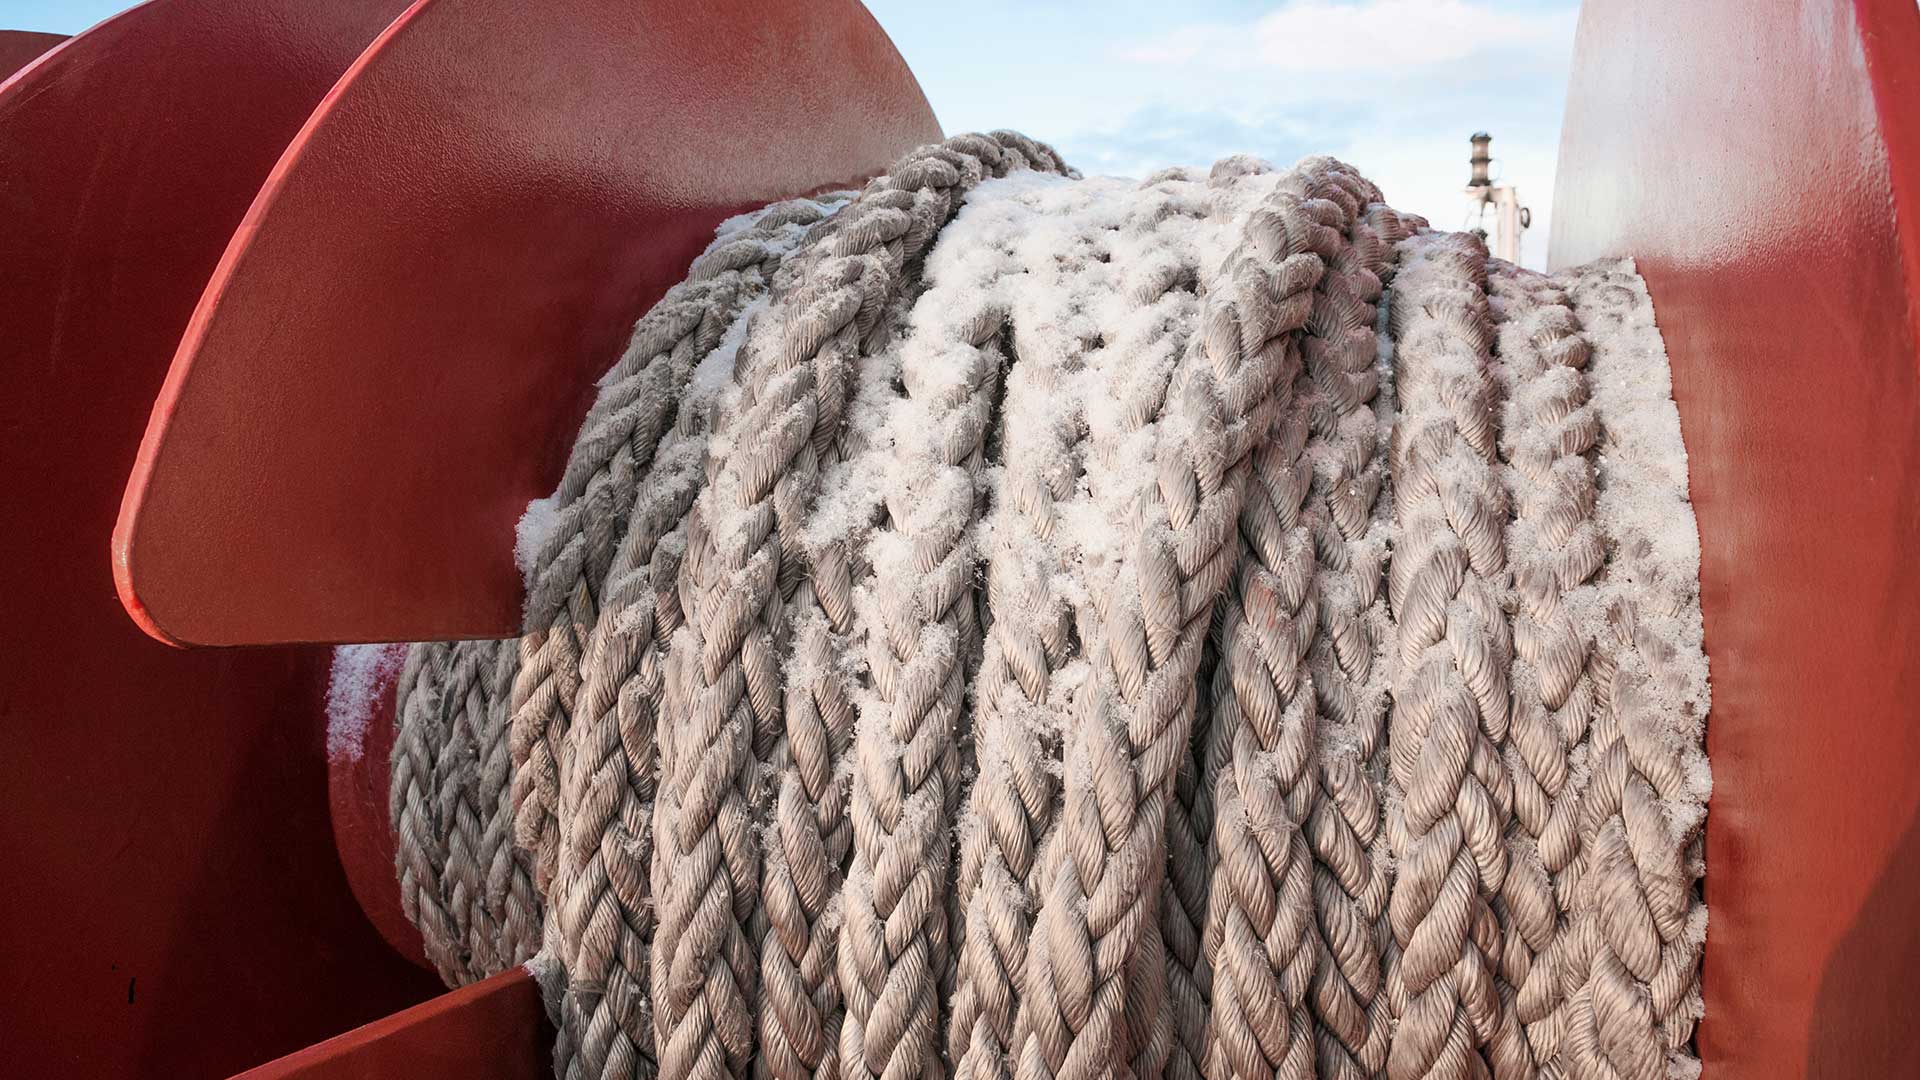
While it’s possible to do the above alone, you can see the potential problems. You will have to constantly be jumping in and out of the vehicle to monitor how the line is feeding on the drum. And leaving a vehicle on an incline with only the park brake engaged is never a great idea. Honestly… bring a mate, and cough up a few bucks for a case of beer/flowers to say thank you. It’s much easier.
If tensioning on a flat surface
As above, you need to create some resistance to build the tension on the winch drum. Without the benefit of the incline, the driver must apply the brakes to provide this resistance. Remember, you’re not trying to drag the vehicle on locked-up wheels. You should just be braking hard enough to keep the line taught through the duration of pulling the winch line in.
As above, monitor how the line is feeding into the drum regularly, and correct the direction of the vehicle as required, until there is a meter or so of line left between the vehicle and the anchor point.
Wrap it up
Once you’ve pulled in all the line and are happy the layers have been wound onto the drum appropriately, drive forward a foot to allow some slack, and disconnect your winch from the anchor point. From there just winch in the remaining few feet of line, and you’re done.
Remember, your winch will continue pulling for a few seconds after you have ceased power to it. You can run the line in and out a few times to get a feeling for the speed, when pulling in the last of the line to store, come off the power a little before your hook or thimble reaches the fairlead so that it is held securely, but not pulled into the fairlead with excessive force. Your winch doesn’t know where the end of the line is, you need to judge this.
Which method to choose?
Many winch manufacturers recommend the flat surface/brakes method, but personally, I’ve always found the incline method to be better. Rather than fuss with trying to manually maintain the brake consistently through a 30m winch pull, the weight of the vehicle on the incline provides a steady, consistent load from start to finish.
But, the brake method works as well, so whichever is feasible in your situation will get the job done.
