Image credit: EFS
There are plenty of ways to get stuck while off-roading, and you don’t want to be relying on the kindness of strangers to get you out; especially if touring remotely. So what should you include in your recovery kit?
I’ve broken this down into types of recoveries, consider what kinds of off-road travel you’ll be doing and you can build your kit up over time based on priorities and what’s going to provide you the maximum utility first.
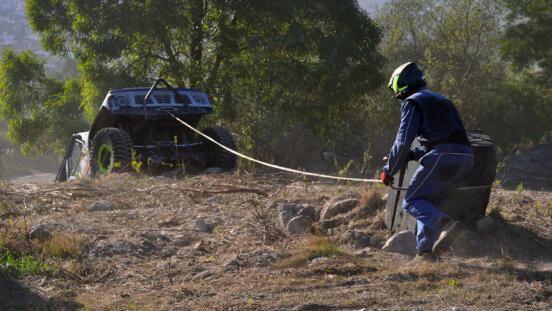
Snatch recovery kit
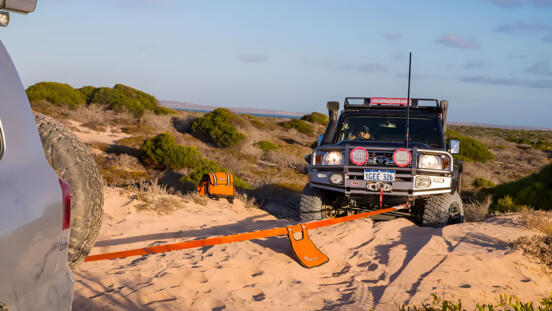
If you’re traveling with multiple vehicles, a snatch recovery can often be your first course of action. They require minimal equipment, and when done properly are relatively simple, safe, and quick. You should have:
- A rated snatch strap, or kinetic rope.
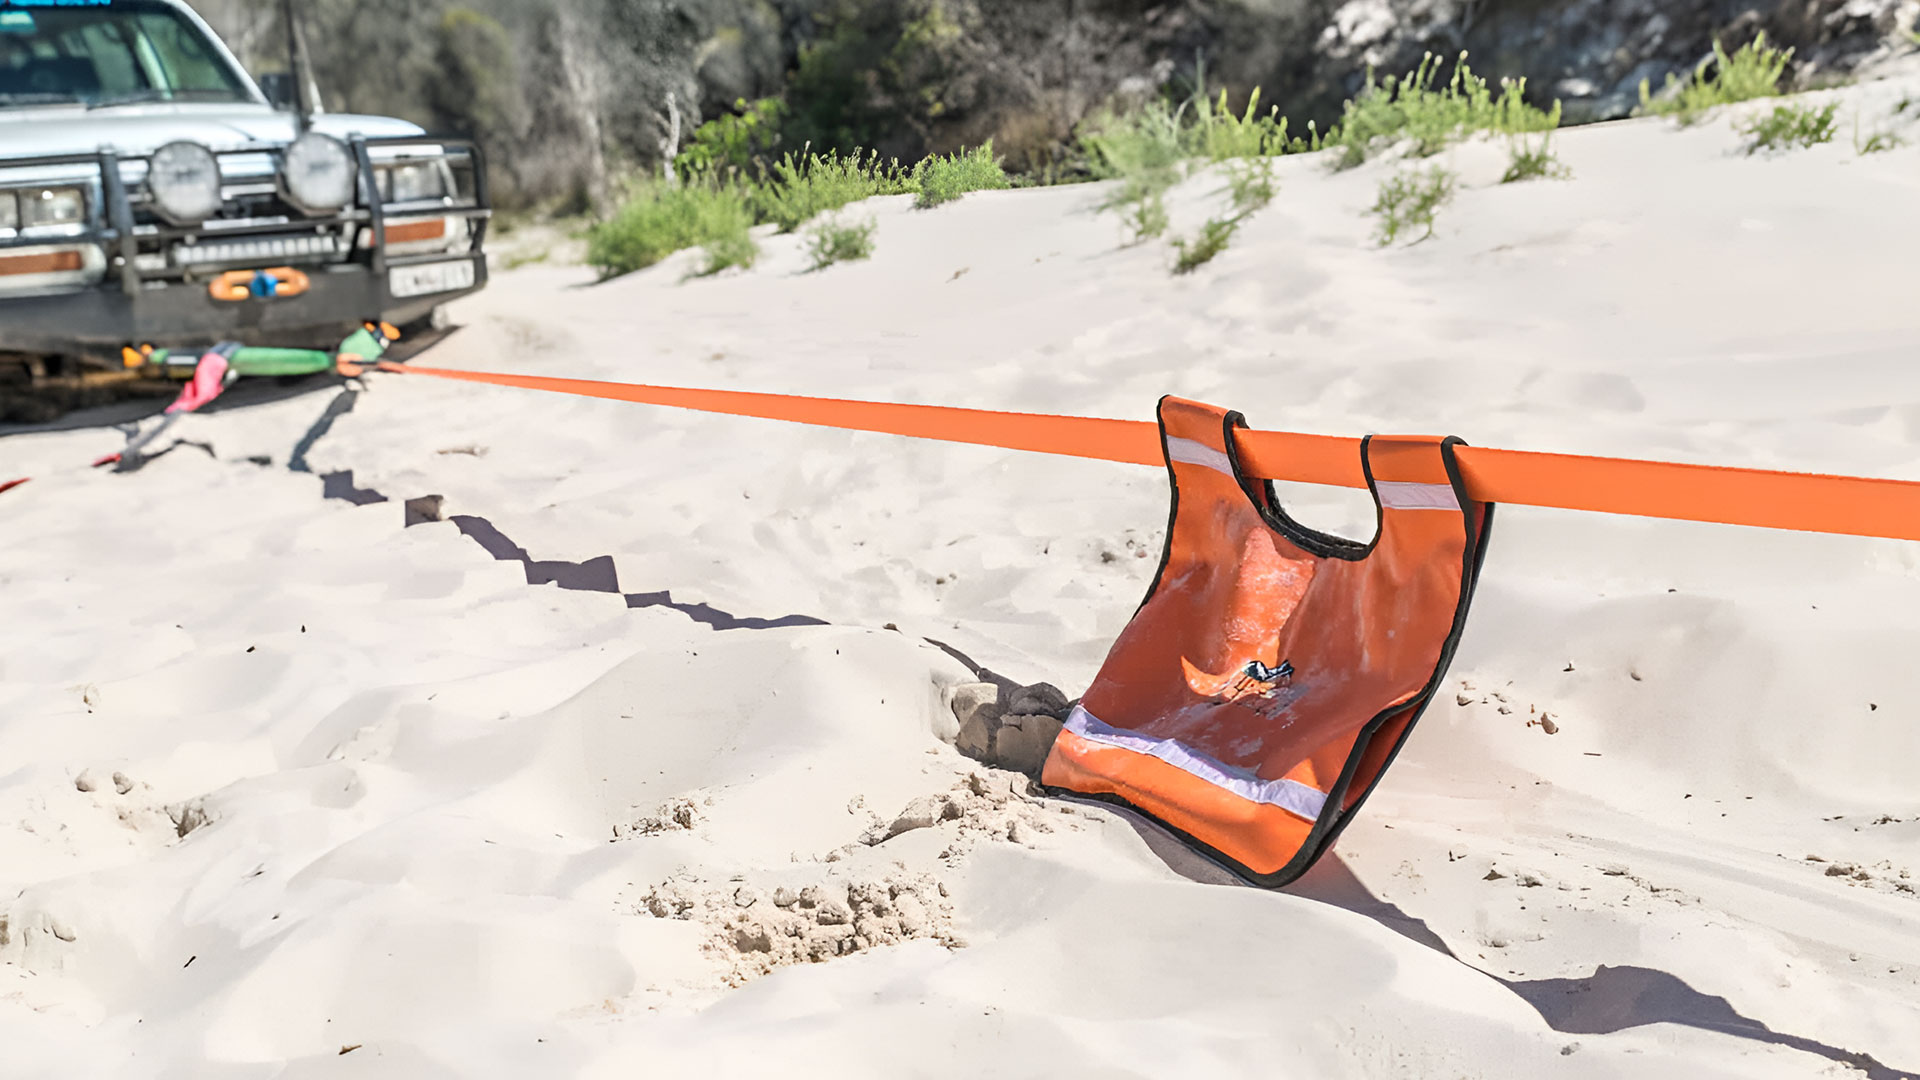
- Recovery line dampener
- 2x shackles (more on shackle types later).
- Rated recovery point(s).
Regardless of whether you’re traveling alone or with company, I would rate a snatch kit as essential. If traveling in a single vehicle on a popular trail or beach, you may get stuck where someone to help you is available. Even if you could get yourself out solo with recovery boards or winching (discussed later), you’ll appreciate how much easier life is with a second vehicle to help the first time you do it.
Getting snatched out of a simple situation like a muddy rut, or the beach is much quicker than winching out (assuming you have something to winch off). And doesn’t require any off the effort of manually digging tracks to lay recovery boards, or laying packing for under your wheels like sticks and rocks to help you drive out.
If you’re a regular tourer, you’re also guaranteed to cross paths at some point with someone who needs help. You’d be amazed how many people go beach driving with no recovery equipment, even in 2WD road cars which have no business being there in the first place.
Read how to do a snatch recovery here.
Rated recovery points
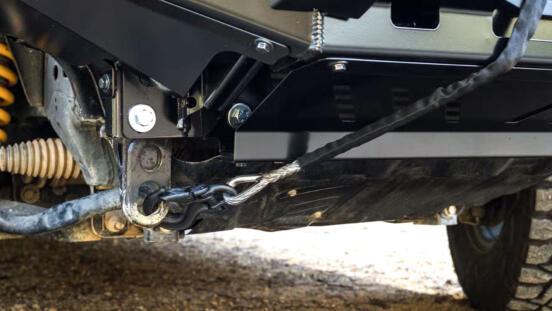
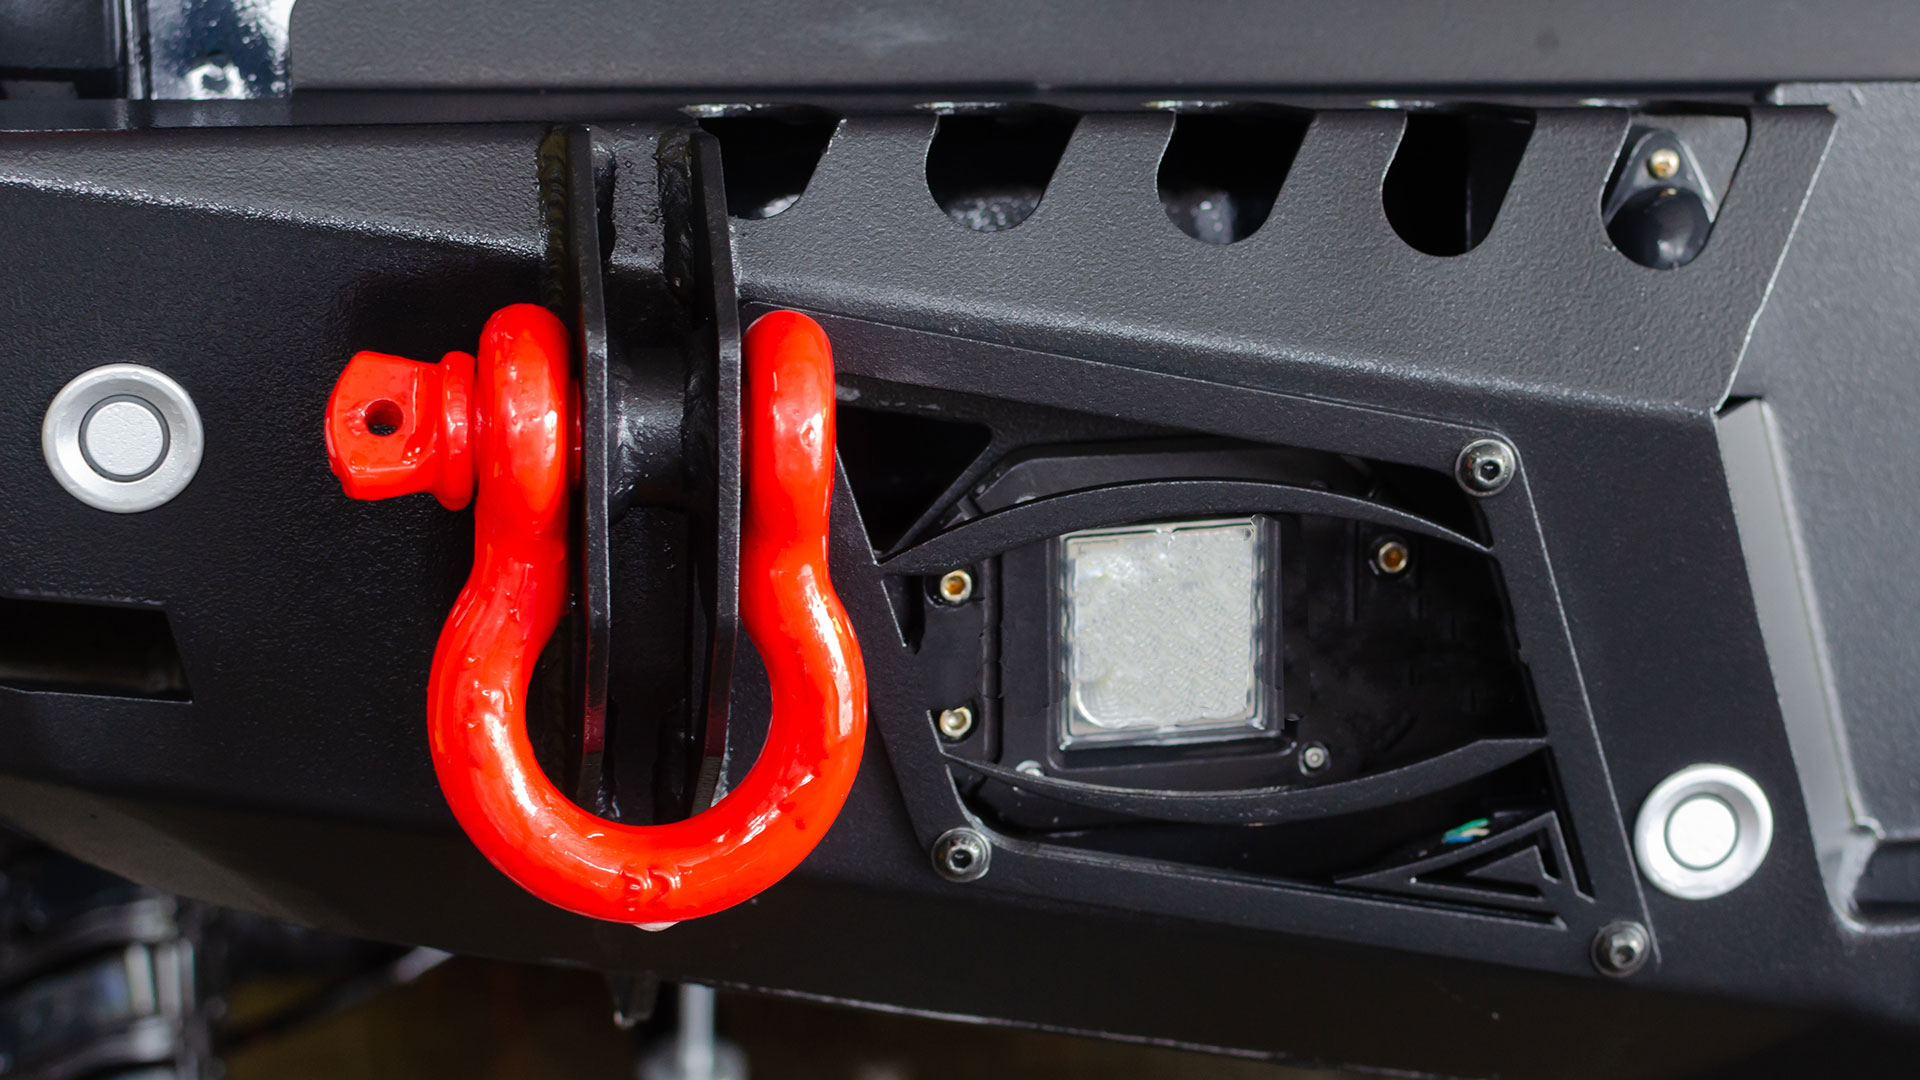
At a minimum, you should have a rated rear recovery point, this is really not optional for off-roading. Ideally, you want front and back recovery points. In many snatch recoveries, the rear of the vehicle will be accessible, but if you’re on a narrow trail travel and you get stuck with your companion vehicle in front of you, the rear recovery point isn’t going to do you any good.
You still need to be recovered, so that leaves you with having to be pulled forward by your bull bar hoops, suspension linkage, or un-rated factory tie-down points; none of these are designed to be used in this way, and can potentially result in bent bull bars, or vehicle damage.
If you rip off your front factory tie-down point which then goes flying through your mate’s rear window, they’re going to be real happy with you too.
Invest in rated front recovery points. In my opinion, it’s a no-brainer if you’re off-roading.
It should also go without saying that any other vehicle involved in the recovery should be using a rated recovery point too. A chain is only as strong as its weakest link, and if you’ve a rated recovery point and they don’t, your vehicle is the one that’s going to get a factory tie-down point through your windscreen when it shears off theirs during the recovery.
Self recovery gear
- Air compressor
- Tire deflator (optional, but recommended)
- Long handled shovel
- Maxtrax, or similar recovery boards (optional-ish)
- Hi-Lift jack and jacking plate (optional)
Air compressor – A portal air compressor is, in my opinion, hands down the best single off-roading accessory you can invest in. Being able to drop/increase your tires to the appropriate pressure for off-roading, ahead of a winch, suspension lift, or anything else you might think rates higher, will stop you from getting stuck to start with in many situations and eliminate the need for recovery altogether.
If stuck, simply dropping your tire pressure a little more can give you that extra bit of grip you need to be able to drive out and not get bogged again.
Tire deflator – While not required, a tire deflator makes airing down much easier and faster. You can, of course, use a simple stick or something similar to open the valve core to release air. The problem is this is slow, as it only allows out as much air as can pass through the core valve opening.
Deflators like the ARB E-Z Tyre Deflator actually remove the valve altogether, increasing the possible air flow 10-fold. The larger your tires, and the higher the pressures you typically run, the more time this will save you. Even on stock 31″ tires common to most 4wds it’s hugely faster.
Long-handled shovel – A shovel comes in handy for clearing sand and mud ahead of a bogged vehicle, making it easier for it to climb out. Also for shoveling in material to fill holes and build ramps for getting out of ruts or over obstacles. But get a proper, long-handled shovel; as tempting as the small fold-up shovels may be from a size/convenience point of view, when you need to shovel half a cubic meter of sand, they suck.
Maxtrax – Recovery boards are an item of some debate in the off-roading community. If you have a winch and always drive forest or mountain trails where 99% of the time you’re guaranteed to have something to winch off of, it would be fair enough to skip the Maxtrax and invest the money in something you’ll use more regularly.
If you plan on doing beach or dessert driving where there may be nothing to winch from for hundreds of metres, Maxtrax will be valuable. Burying a spare tire in the sand to a depth you can use it as a winch anchor is a huge pain in the ass, and if you’re stuck in mud above hard-packed dirt, it’s just going to be impossible.
Hi-Lift jack and jacking plate – Hi-Lift jacks are another much debated recovery item. Where they do shine in a recovery situation, and over a conventional road jack designed for changing flat tires on the tarmac, is their ability to lift a vehicle enough to allow easy packing under the wheels of a bogged vehicle.
Most bull bars these days come with integrated jack points, and can be used to lift the front wheel on either side high enough that you can fill the space below it with sticks, stones, or recovery boards setting yourself up to be able to drive out. If you have a towbar, the same can be done to lift the rear of the vehicle.
The caveat to this is that you need to be on a reasonably flat surface to use a Hi-Lift jack. If you’re stuck halfway up a mountain trail with the vehicle leaning sideways at a 40° angle, a Hi-Lift jack isn’t going to be able to be used safely in that situation. While they have their uses, this is something I’d put at the bottom of your recovery gear list (Hi-Lift jacks are also a pain in the ass for rust).
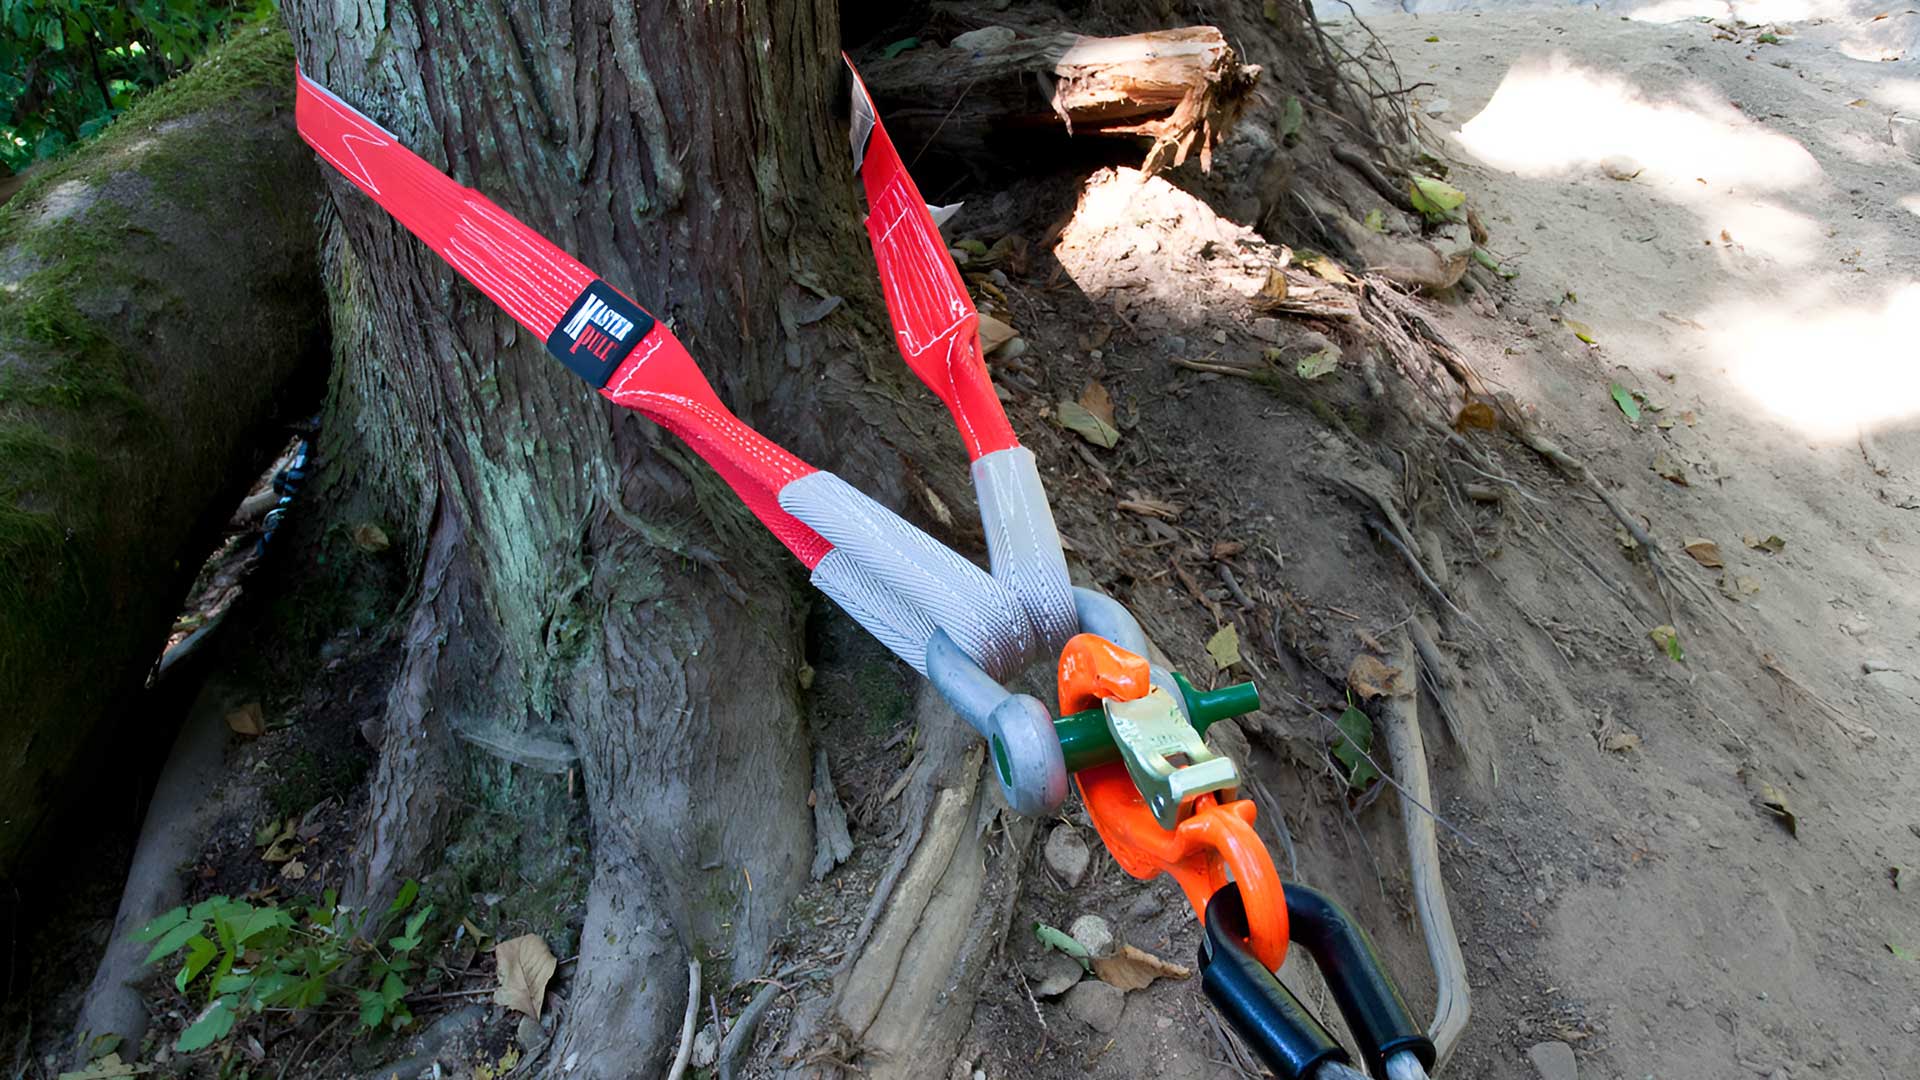
Image credit: Master Pull
Winching recovery kit
- Winch (obviously)
- Winch-compatible bull bar (don’t make the mistake of buying a bull bar without a winch cradle)
- Winch hook or thimble
- Winch extension line
- Tree protector (1 minimum, 2 recommended)
- 4 shackles (total, including what you already have from your snatch kit)
- 3 snatch blocks
Winch hook or thimble – This is a topic of some debate that deserves a dedicated comparison of its own, but in short, the main difference between winch thimbles and hooks is hooks are quicker/easier to connect, but less secure, while thimbles require 30 seconds to connect, but provide a more secure connection.
In either case, not all winches come with one of the above included, be sure to have one before you head out.
Tree protector – As the name suggests, “tree protectors” do exactly that, distributing the load through soft material surface around the tree to avoid damaging or killing it.
Even when winching off dead trees, metal poles, etc., a strap is required to connect your winch to your anchor point. Never wrap your winch rope directly around your anchor and hook it back on directly to the rope. You’ll cause premature wear and snap you line doing this.
Winch extension line – This varies between brands and models, but as a rule most winches don’t come with a particularly long winch line; usually somewhere in the neighbourhood of 25 metres.
That might sound like a lot, but in open areas, while doing double lines, or complex winching recoveries using snatch blocks for multiple angles, 25m often doesn’t go far. Your winch won’t do you any good if the nearest tree is too far away for it to reach.
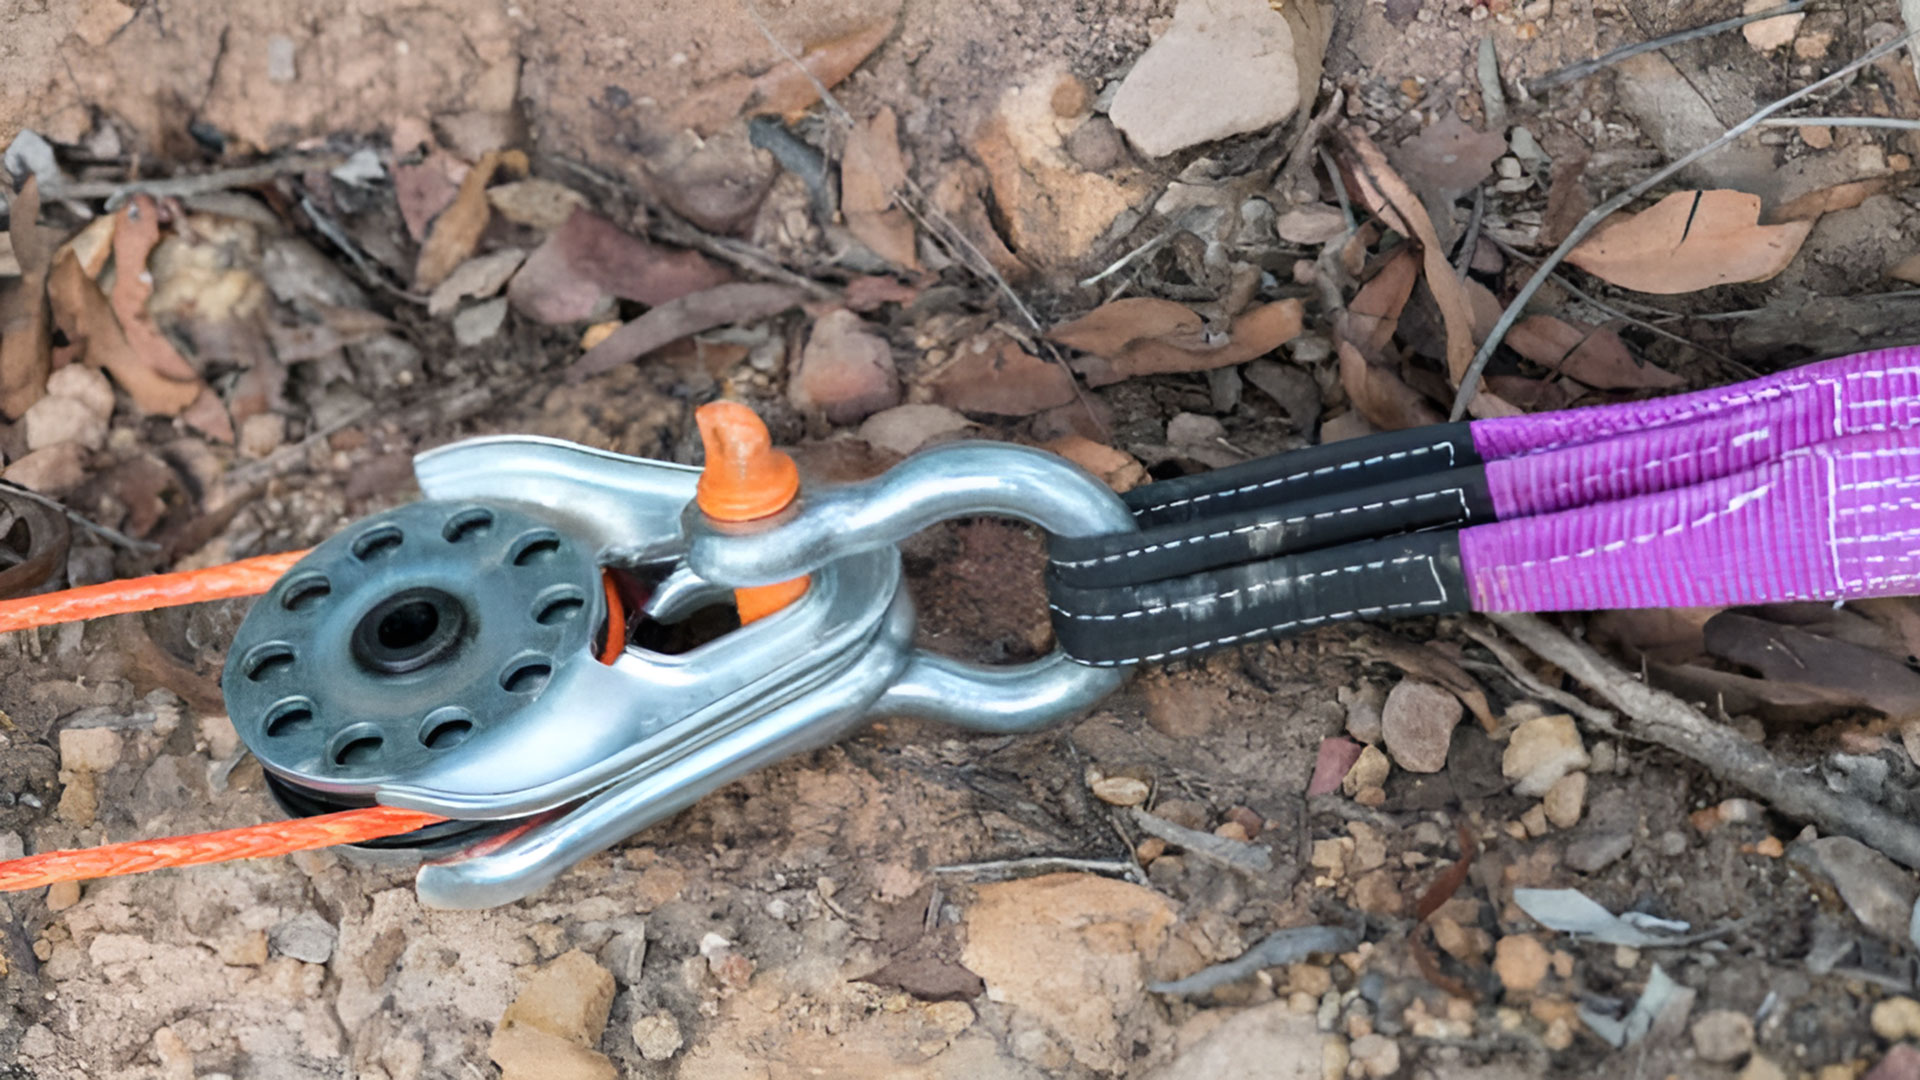
Image credit: Super Cheap Auto
Why the 2nd tree protector, 4 shackles and 3 snatch blocks? – Snatch blocks add more flexibility to your recovery options than you might imagine.
1) Increase pulling power – At its simplest, one snatch block allows for a double line pull, halving the load on your winch, and effectively doubling your pulling power. If you’re really stuck, adding a second block allows a triple-line pull, further increasing the effective power of your winch. (One tree protector is required here.)
2) Adjust the pull direction – With one line connected to one anchor point, you’ll obviously be pulled directly towards it. This isn’t always ideal in off-road winching, e.g. if your vehicle is stuck leaning sidewards at a steep angle, depending on the terrain ahead simply pulling forward could risk a roll-over.
Imagine your vehicle is leaning precariously to the left; with two snatch blocks you can run the line directly forward to block #1, then to a second anchor point diagonally right of your vehicle, then back to your righthand side front recovery point. Now as you winch the first block will pull you forward, while the second block will pull the right side of your vehicle down, adding additional control you wouldn’t have if pulling directly forward only. (Two tree protectors are required here.)
3) Winch yourself backward – With three snatch blocks, you can actually winch yourself backward using your front winch. Credit to RopeLab for the excellent diagram of this below:

As counter-intuitive as it might seem, the above does work. With the double line at the back, for every foot of rope your winch pulls in forward, it pulls two feett from the back, ultimately moving you backward one foot.
Don’t forget, in addition to the shackles and blocks, you need something to secure the shackles to the anchor points (the trees, in this case). To be fair, the above is a scenario you’re likely to encounter very rarely, and it would be reasonable to say buying a 3rd tree protector just for this scenario is overkill. That’s completely fair.
In my case I have two tree protectors for use in the more common scenarios 1) and 2). On the few occasions I’ve had to winch myself backward I’ve used my winch extension strap for the 3rd anchor point; not exactly what it’s intended for, but it gets the job done in a pinch without having to shell out for an extra piece of gear you’ll have to carry and use very rarely.
How likely you are to encounter the situation above, you’ll have to decide for yourself. If it’s something you think isn’t a possibility for you, you could knock one snatch block and one pulley off your list.
A note on steel vs soft shackles, and picking the right ones
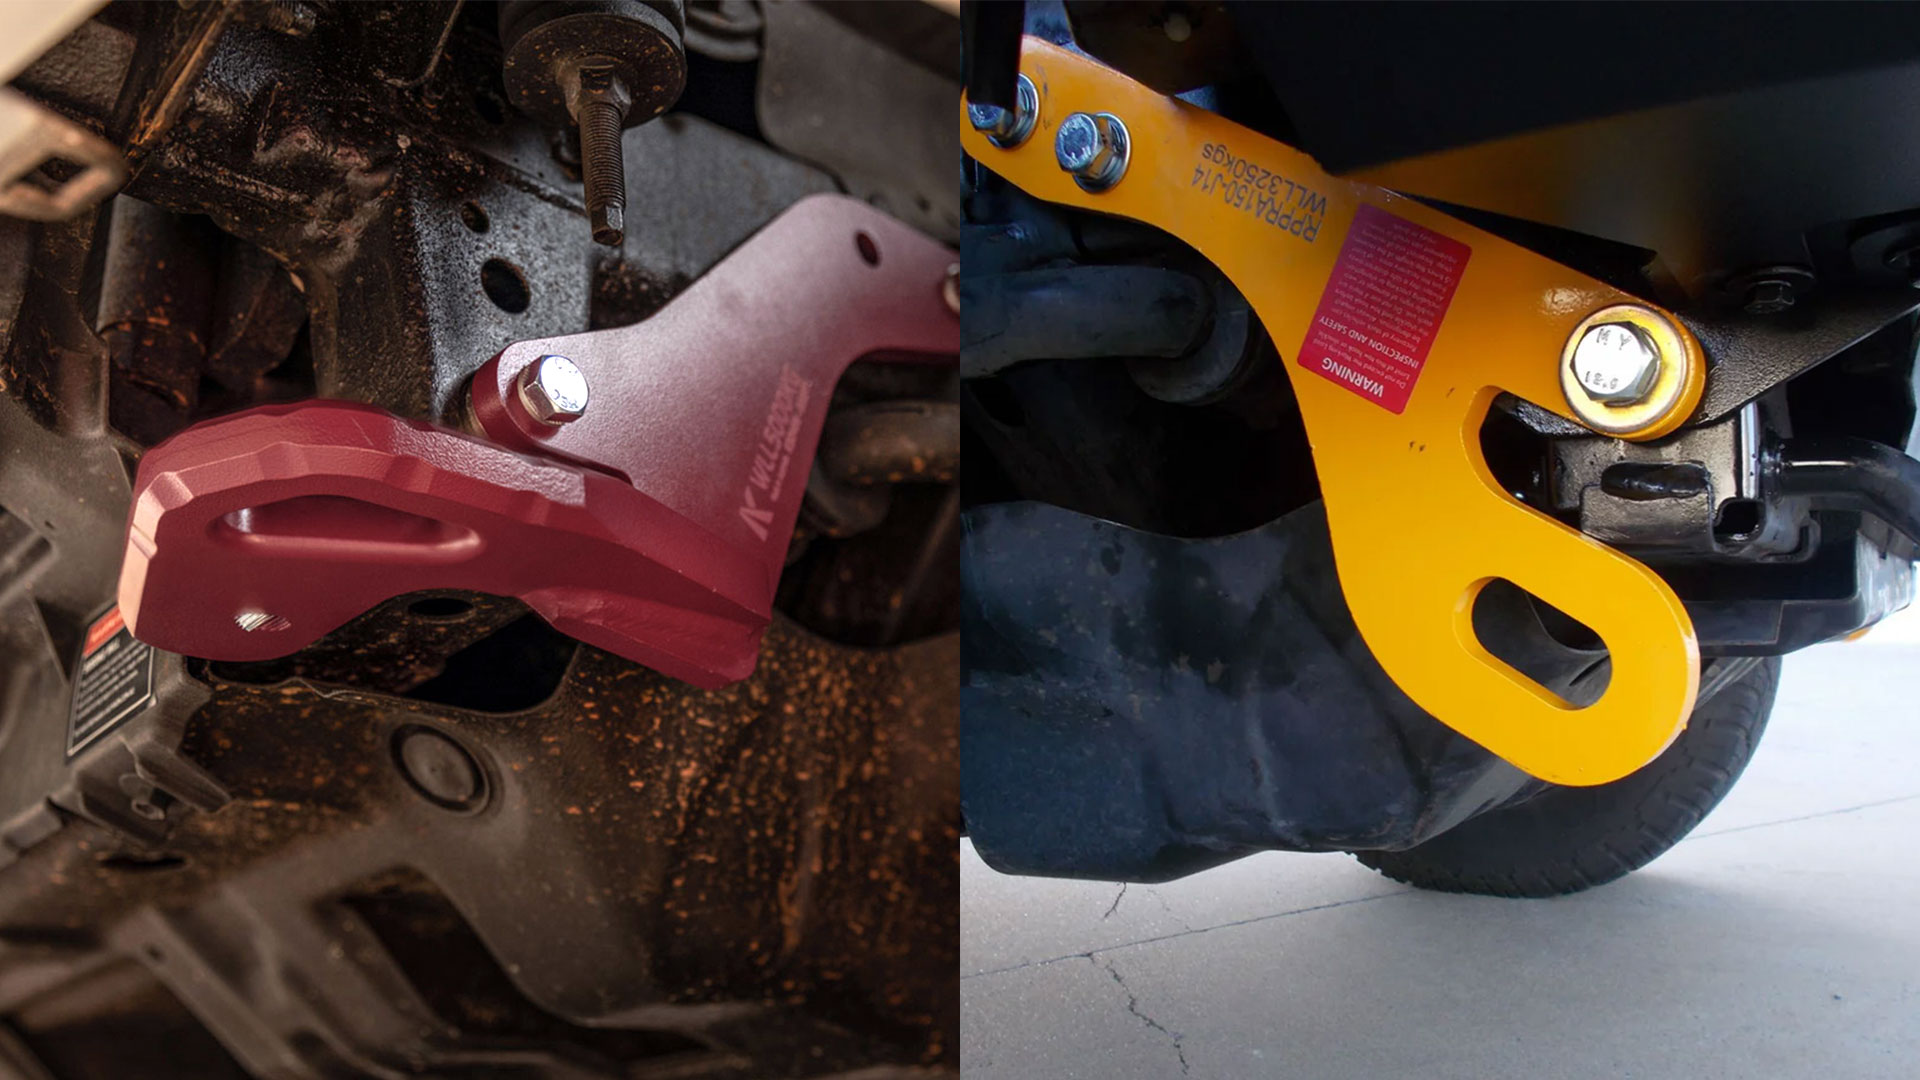
Soft shackles have a number of advantages over your conventional steel bow shackles. They’re far lighter, easier to handle, and in the event of a break (however unlikely that is) are safer than steel. For the most part, they’re a better choice, with one caveat; the style of your recovery point.
The Kaon Prado 150 recovery points, for example (above left), have rounded edges designed to be soft shackle friendly. Many other recovery points designed with only steel shackles in mind have an opening cut straight down, creating a 90° steel edge that will cut your shackles under load.
If your recovery points are like the latter, steel bow shackles will be a better choice for connecting to those points.
Read section again:
Snatch recovery kit
Rated recovery points
Self recovery gear
Winching recovery kit
Steel vs soft shackles
