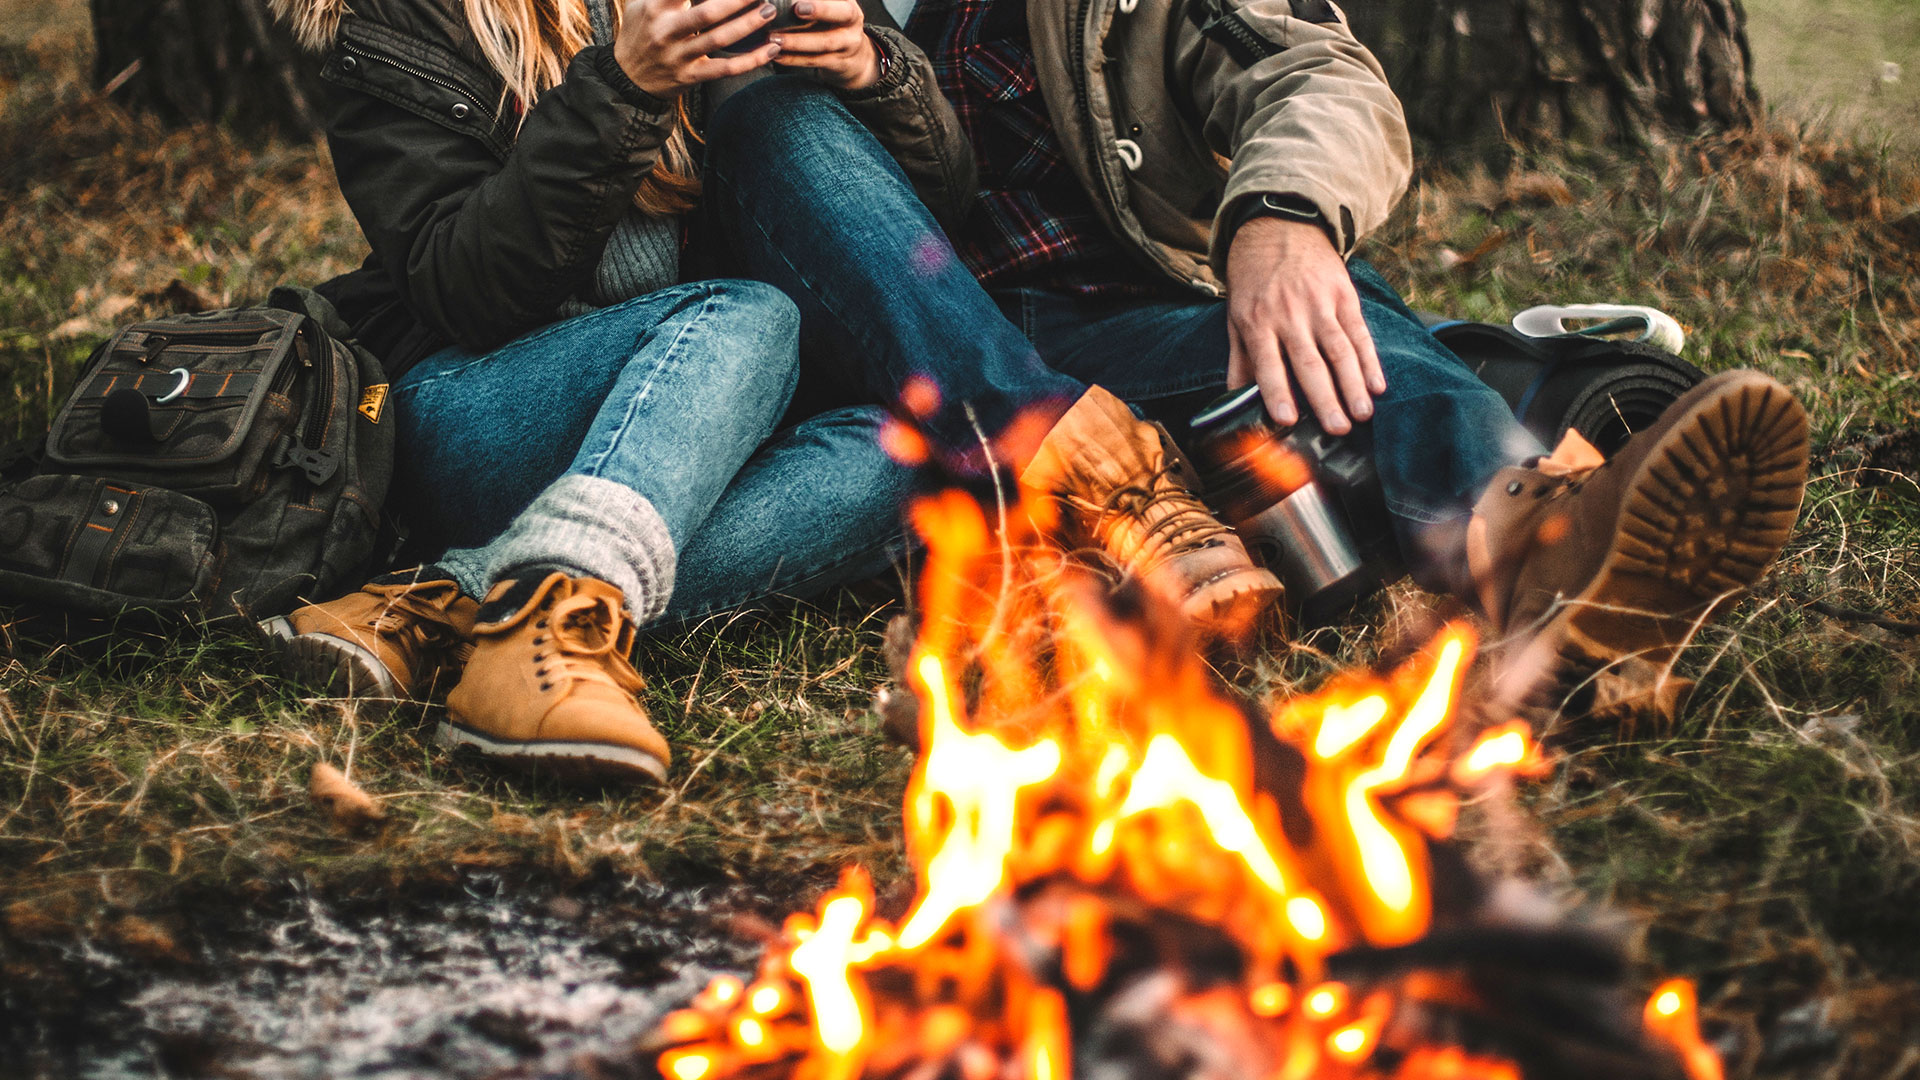
When getting into camping, it’s easy to get gadget-fever with the amount of gear, tools, and accessories that are out there.
There are a hundred bits and pieces out there that have some appeal and seem like a good idea at the time, but as you get more experienced, and have your routine, you likely find you end up never using half of it.
This article aims to help you skip some of the unnecessary buys, and save your money for the useful stuff.
Note: Not a paid promotion/sponsorship.
Sleeping
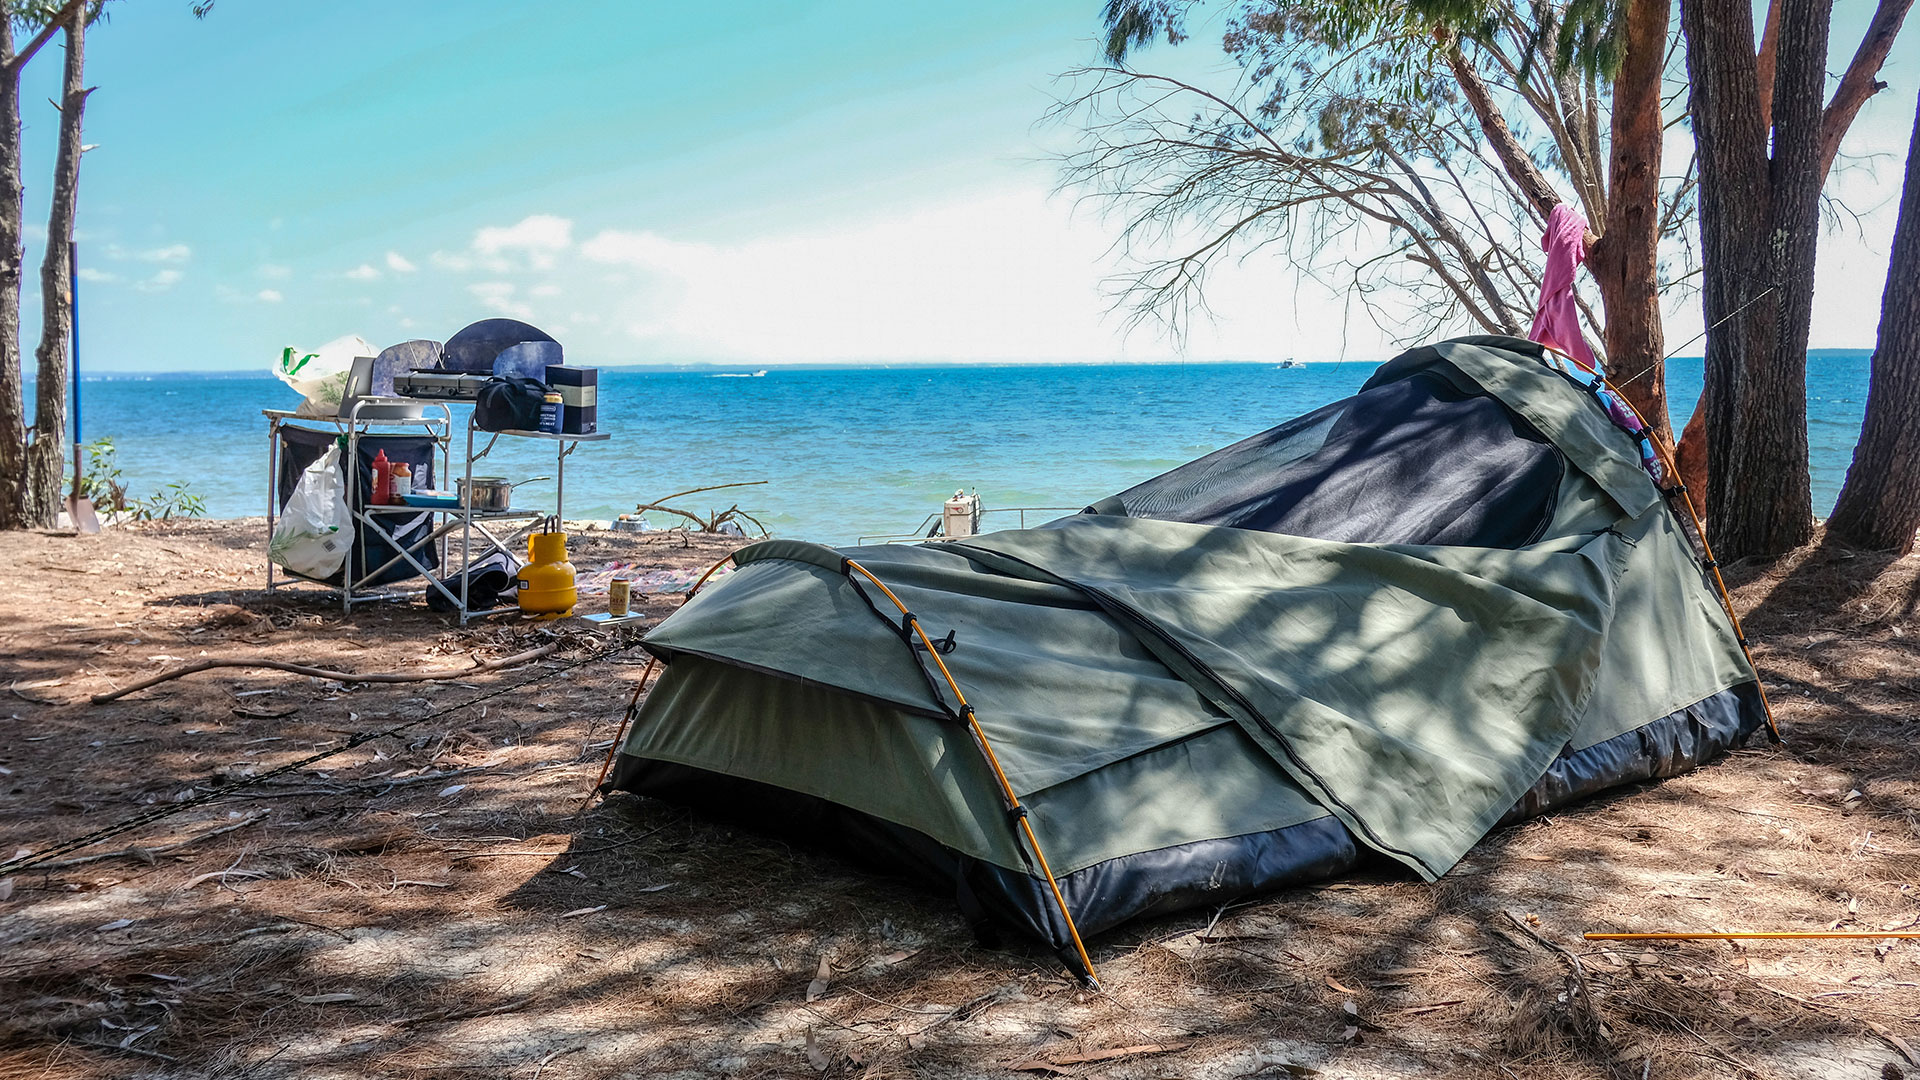
Tents vs swags
Whether a tent or swag is right for you depends on a few things.
Size is your first consideration here. If it’s a shelter for 1-2 people camping, a “king-size” canvas swag is a good option. Nearly all swags will come with an inbuilt mattress, they’re relatively small when rolled up, and quick to set up and break down.
If you’re a family of 3+ people and/or pets, looking to sleep in the same shelter, you’ll need to go for a tent.
In either case, I recommend a thick, quality canvas material. Canvas is durable, abrasion resistant, will keep you dry and warm, and with opening flaps can easily be ventilated on hot nights. Canvas is also easily repaired if torn with a simple patch and adhesive.
There are several other synesthetic material options for tents/swags; PVC, polyester, poly-cotton, nylon, etc. Each of these has its nuances, but the main difference compared to canvas is they’ll typically be thinner (more compact) and lighter, but also more prone to collecting condensation, and more susceptible to piercing/tearing.
Unlike plastics, canvas is also relatively fire resistant, so is safer to use in (sensible) proximity to your campfire. A few stray embers landing on your canvas swag are unlikely to cause an issue, whereas a synthetic plastic material will be pocked with fine holes when subjected to the same, or worse.
Inflatable vs firm roll-up mattresses
Personal preference is a big part, but I’ll make a few arguments here in favour of the firm mattress.
Inflatable mattresses are very convenient in terms of storage, as they collapse down to basically nothing. They’re also good that when placed over small rocks, sticks, or minor bumpy terrain, an inflatable mattress will keep you separate from these sources of discomfort, where they may be felt through a firm mattress.
On the flip side, if sharing an inflatable mattress with someone, any time either of you move the other person will get bounced around, which doesn’t make for a good night’s sleep. If camping in a cold climate, inflatable mattresses will also suck the cold straight out of the ground below you, making it harder to stay warm.
A firm 10cm-12cm thick roll-up mattress is much more stable for two, and more insulating from the ground. Just avoid sleeping on pebble-covered ground as this might be felt through the mattress, but on a flat grassy or smooth earth surface, they are perfectly comfortable.
A side note on flat surfaces and swags: If camping in a swag, there is also the option of adding a stretcher to your kit to set up your swag on top of. This provides a raised flat surface to keep you comfortable, dry, and clean. Not essential, but worth a look.
If you find an inflatable mattress comfortable, and you sleep well on one, great. Go for it. Personally, I prefer the firm mattress in my swag.
Pillows
There’s not much to cover here, it’s really just down to how much space you have and what you feel like carrying. If you want to bring your home pillow, go for it. Otherwise, there are plenty of options for small inflatable pillows, which I find comfortable enough, that deflate to nothing and can be kept in your tent/swag; I find these best for convenience and space-saving.
Sleeping bags
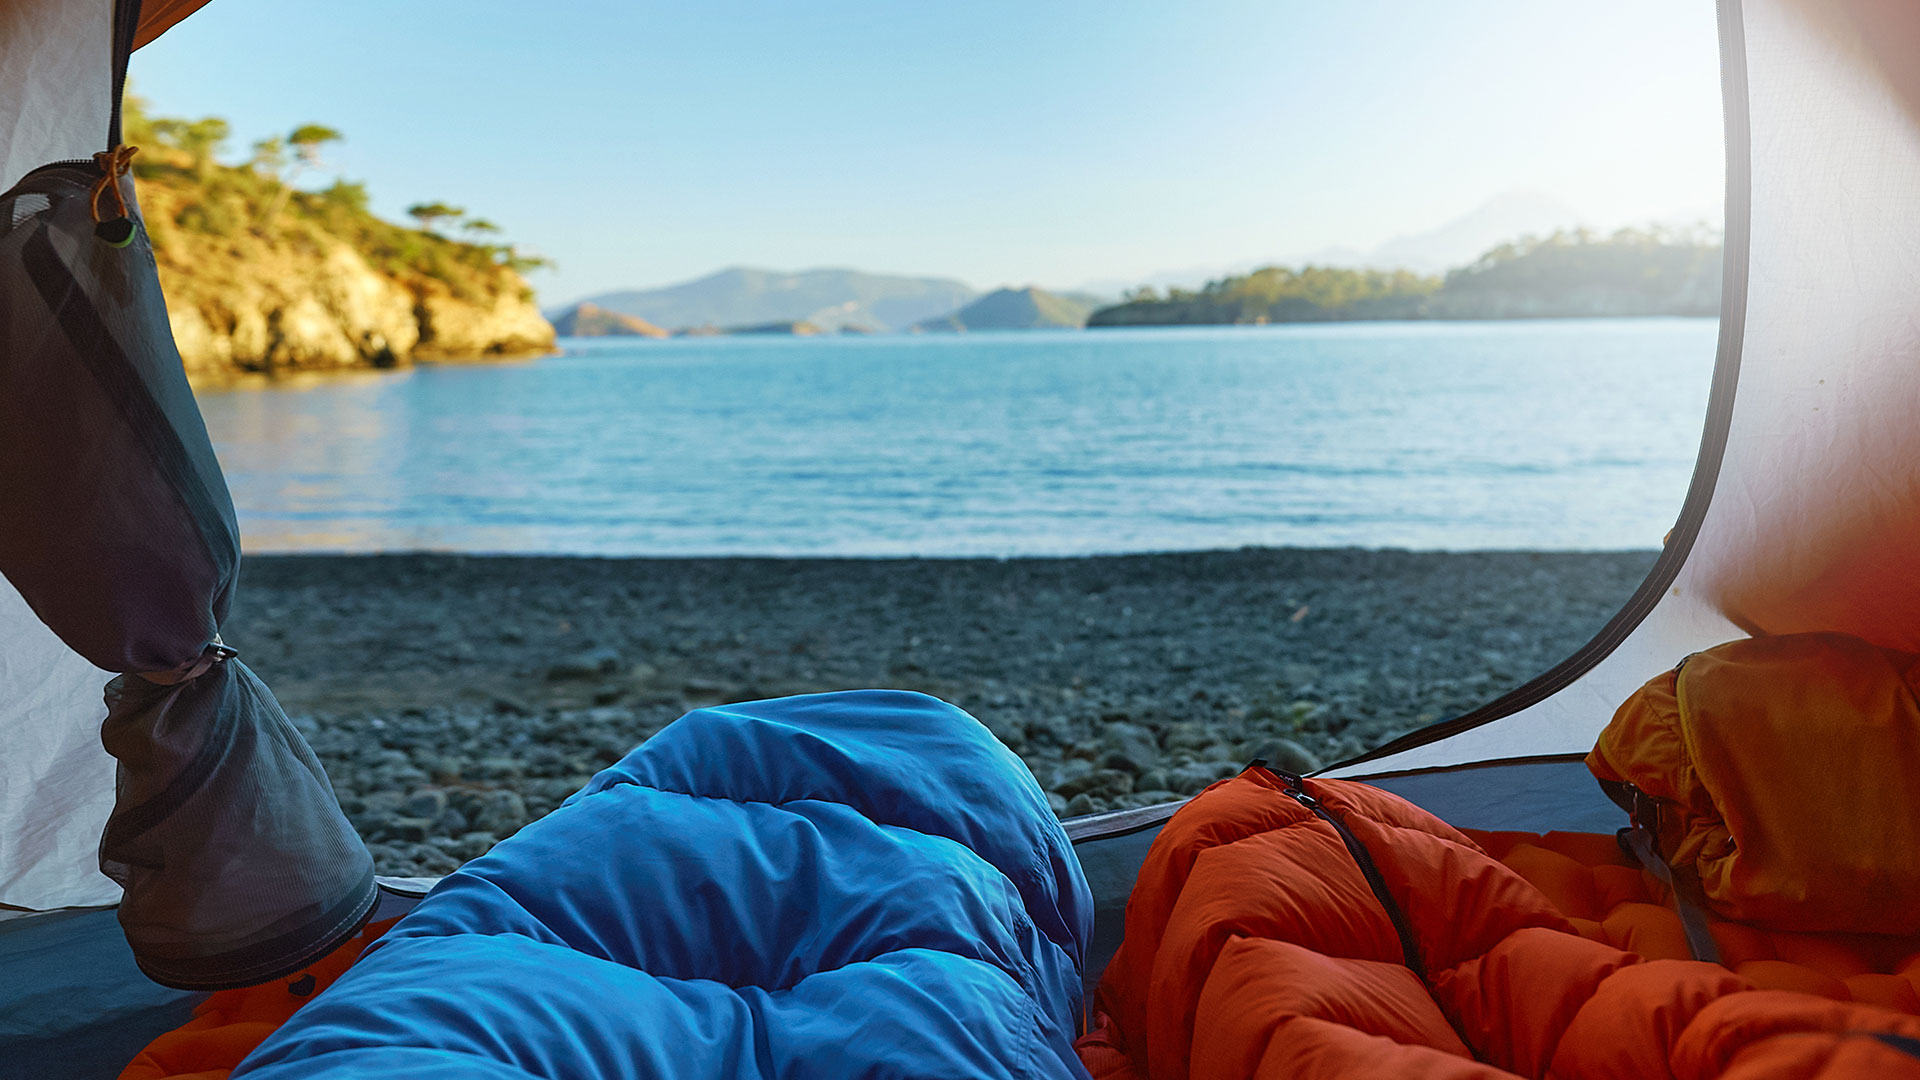
Sleeping bags come in a range of temperature ratings which seem straightforward, but can be tricky to appreciate if you don’t have experience with them.
For example, a sleeping bag rated for 0c (32f) doesn’t mean you’ll be snug and warm if it’s freezing outside, it basically means you won’t freeze to death; you’ll get through the night, but you will not be warm, comfortable, or happy.
Generally speaking, sleeping bags will come in three categories that sit around the following temperature ranges:
- Summer: 30c (86f) and up
- Three season: 10-30c (50-86f)
- Winter: 10c (32f) and below
A common rule of thumb is to choose a bag rated for 10c below the lowest temperature you are expecting. This will help you stay warm, not just endure. You can always unzip a bag to be cooler, but you can’t zip it up any tighter if it’s too cold for the bag to handle.
Pro tip: In cold weather camping, having a blanket stuffed inside your sleeping bag with one end tucked around your shoulders and neck will stop warm air from escaping the top of the sleeping bag as you move around.
Shelter
If you’re reading this website, 99% chance you have a four-wheel-drive, in which case a roof-rack mounted awning is a no-brainer. They require no cabin space to store, setup is easy and only takes a few minutes with 2 people, and they’ll be one of the most useful things you’ll ever have as part of your camping.
A decent quality 2m x 3m awning can be bought for a little over $100 and will provide shade against the sun when no other source is available, e.g. beach camping, and shelter from the rain.
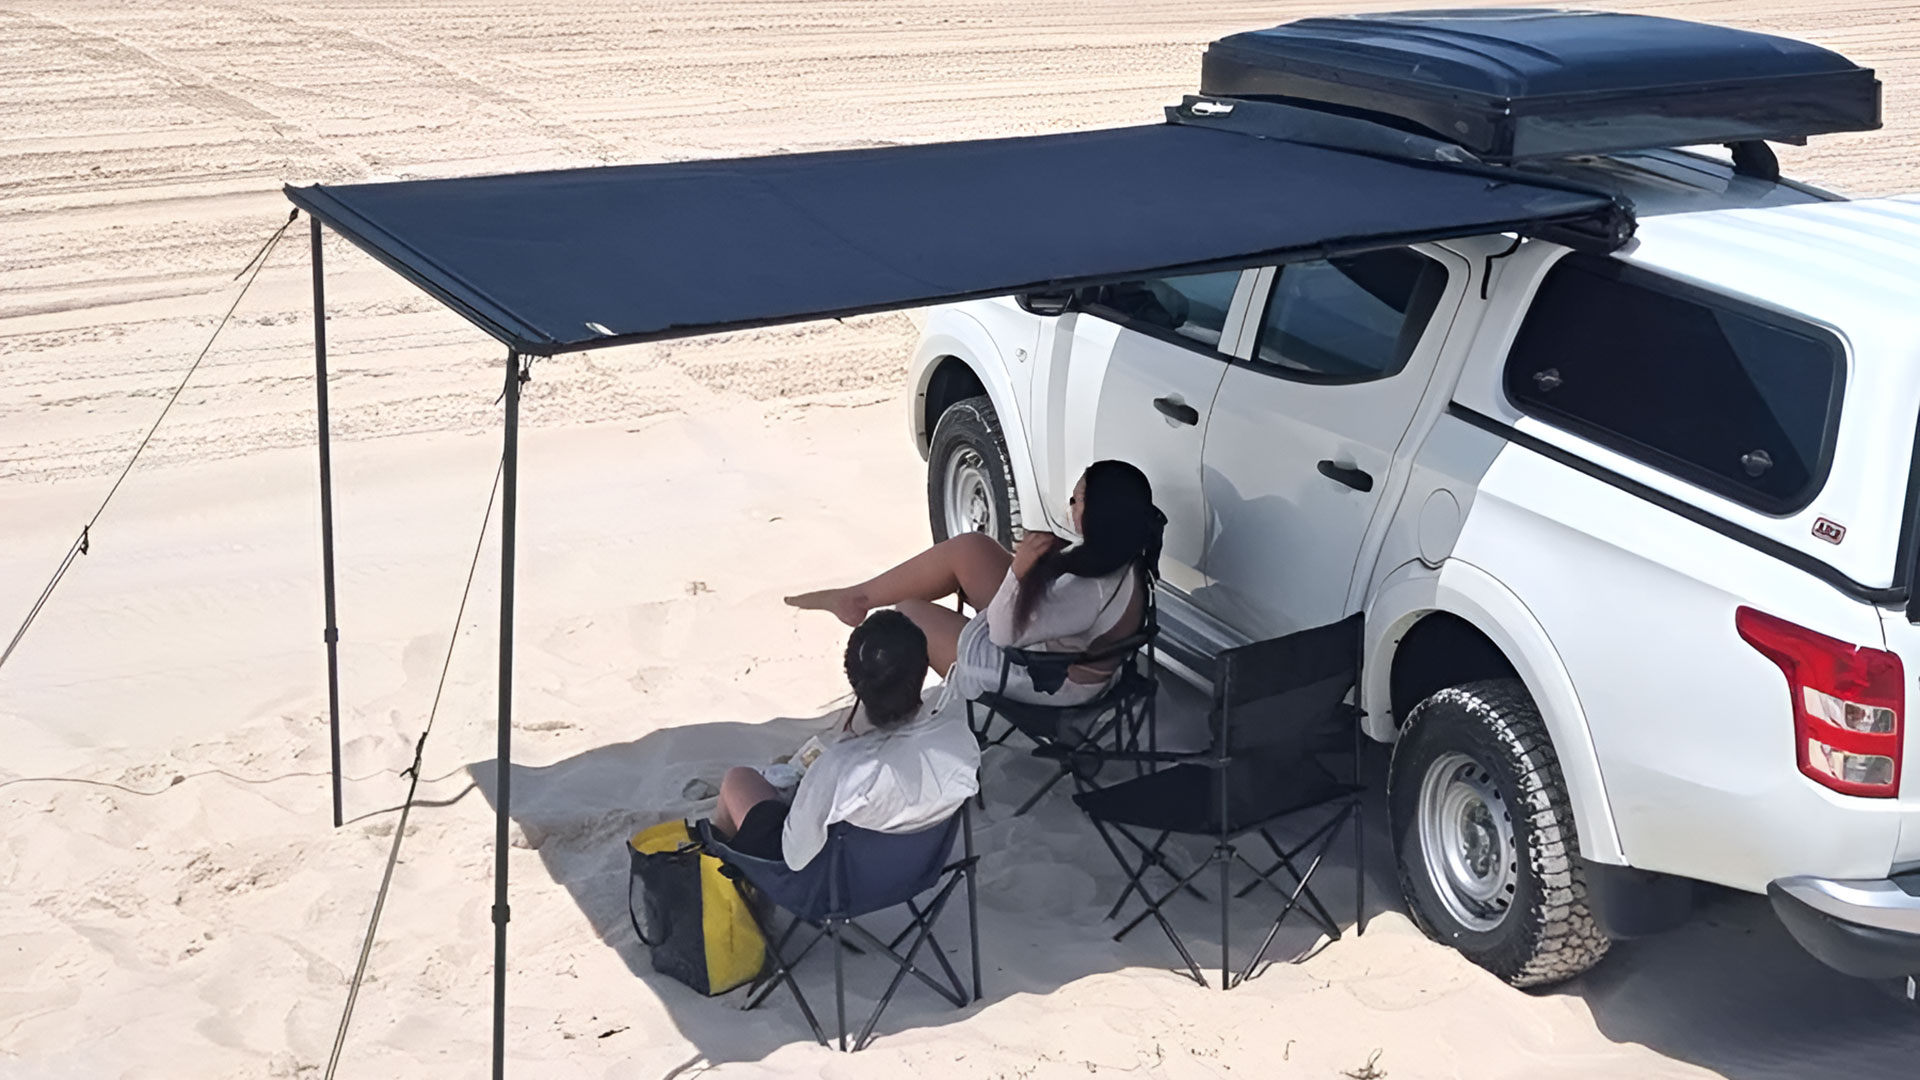
Image credit: Xtend Outdoors
Getting roasted on a hot day because you have no shade, or drenched and cold because you’ve got no cover from the rain will ruin any camping trip, pronto. If an awning saves you from this once, it’s already paid for itself as far as I’m concerned.
If you don’t/can’t have a vehicle-mounted awning, there are collapsible gazebos in a huge range of sizes that will do the job as well. There is the small inconvenience of having to pack and transport it compared to a roof-rack-mounted awning, but it’s still well worth it.
Campsite equipment, cooking, food and water
Cooking – This is another activity with endless options. Portable gas stoves, 12v camp ovens, jetboil units, billy’s, pots, pans, campfire tripods, electric kettles (if you have an inverter), the list goes on. You could fill a case with cooking gear alone before you’d even packed any food.
The downside to portable cooking units is they’re somewhat limited in how much they can cook at once. If you’re cooking for 1-2 people, it’s probably fine, but any more and it will mean doing multiple batches. You also have to carry portable fuel, like gas bottles, and if these bottles run out, no hot meal for you.
Pans, pots, and tripods consume a lot of space, and each is only good for cooking certain things. To cover all your bases this can mean a lot of gear to carry around.
Instead, I would propose a simple fold-up hot plate with both a flat and grill section to sit over a campfire. This one piece of equipment folds down to occupy very little space, and can do 95% of the work everything above will do, often better. If you like hot tea or coffee in the morning, you need only add a small steel saucepan to your kit, which can sit on the grill side above the fire.
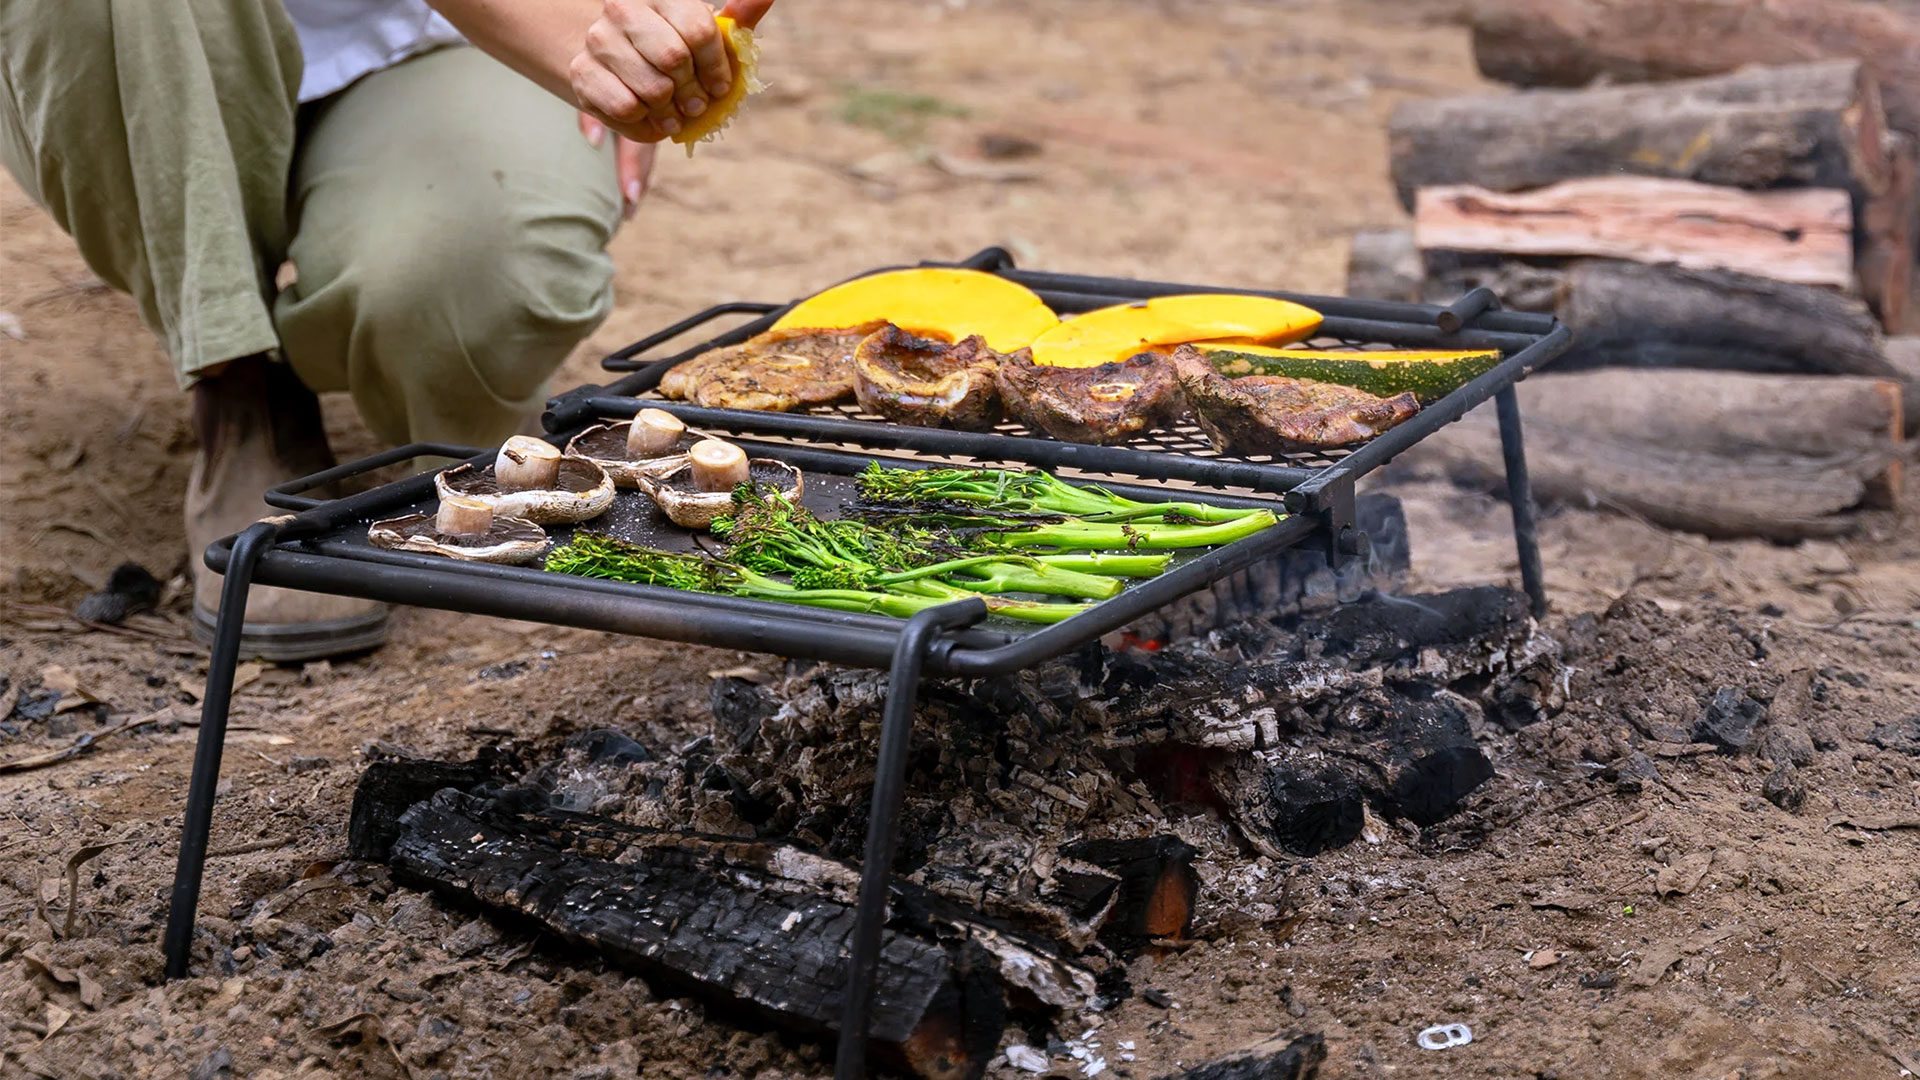
Image credit: Aussie Traveller
Water
For extended trips, I find a good rule of thumb is 4 liters (1 gallon) of water per person, per day. A minimum of 2 liters per day for drinking, and the rest can be used sparingly for washing up, with a little left over for backup.
Obviously, this is just a guide, and actual needs will vary depending on your camping location. If you have access to a clean water river, you may be able to take less. If there is no water access at your camping location, if it’s during a hot season, etc. you will need more. Use the above as a starting point, and common sense to adjust for the particulars of your trip.
20-liter food-grade jerry cans for water can be purchased for $20 something dollars, so carrying enough water for a modest trip shouldn’t be difficult
Chairs and tables
Fold-up chairs can be had for as little as $10-$15, more if you want something a bit bigger, or with more padding, pockets, and other features. I can’t say there’s much to recommend here other than sit in one and see if it’s comfy.
In the case of campsite tables, this is one area where I would argue the most compact is not the best. There are some very compact, lightweight tables with roll-up tabletops and foldable legs that pack down to about the same size as a portable chair. The trade-off for this though is they are really not very stable. Putting your water jerry can on the more portable tables can be very precarious. If one of the dogs, or kids, runs into the table, everything on it is going flying.
Though it will cost you more storage space, I find a one or two-piece folding table with steel frame is far better. They’re much more comfortable to use without the worry of knocking the thing over.
Dinnerware
Camping dinner wear sets can also be had fairly cheap. Brands like Sea to Summit offer 6 piece camping sets with everything a person needs. I have a few of the linked sets myself, and they’re durable, light, and pack together compactly; exactly what you want for camping.
Refrigeration
A portable fridge isn’t something to invest in for your first trip, but rather something to have in mind as you travel more often. An esky is an easy option for a day or two away, but for longer trips becomes an ineffective burden. Ice takes up half your space and weight, gets everything wet as the ice melts, and can’t be replenished while away. An auxiliary batter in your 4wd and 12v portable fridge can keep you going for days with a large enough battery, without having to waste half your storage space on disposable ice.
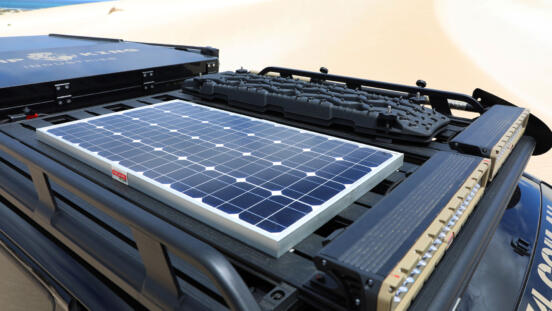
Ideally, adding solar to the setup can provide refrigeration indefinitely. An auxiliary battery, fridge, and solar setup is a significant investment, but, if you find yourself camping more and more regularly, it can be one of the most enjoyable things to add to your kit.
Lighting
Camp lights
There are a lot of lighting options; handheld torches, lanterns, light strips, head torches, all of which can be had in solar-powered, disposable battery, or rechargeable options.
First off, I would say avoid lamps and torches with built-in solar recharging. I’m yet to see one that comes even remotely near the performance and convenience of a quality, rechargeable camp light.
For your campsite, I recommend something like the Stedi T1000, or the larger T1500. These come with an adjustable magnetic base that can be mounted to any magnetic surface, e.g. your bull bar, the side of your 4WD (just put a cloth between the light and 4WD to protect the paint), etc., and can easily be repositioned or directed for different scenarios. It also has a hook mount allowing it to be hung from an awning, etc.
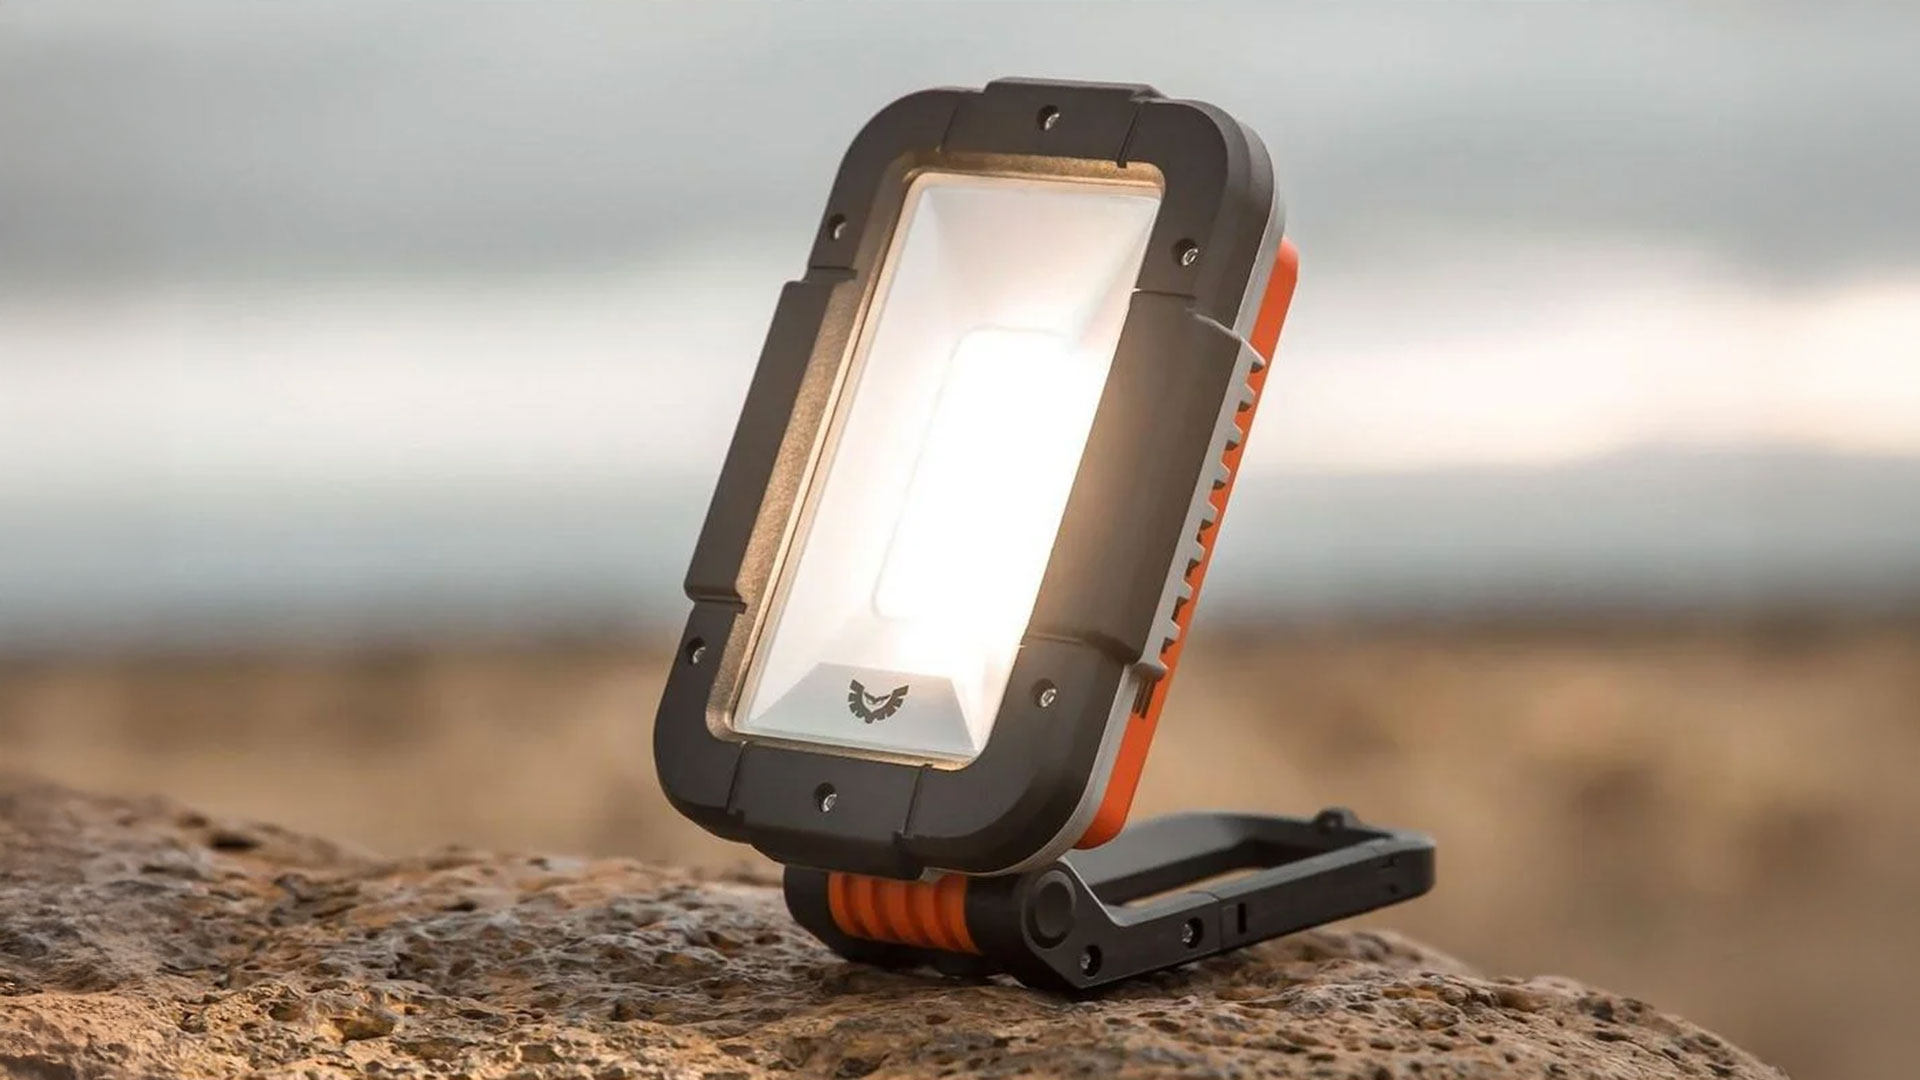
These units have multiple brightness levels, and at the lower-middle levels (which are more than bright enough) can provide days of light between recharges. They also come with an orange color mode which reduces insect attraction, and is much easier on your eyes at night; you won’t be completely blind when turning into the darkness after sitting in orange light.
The units also double as a battery bank to charge USB devices like your phone.
Stedi isn’t the only game in town, I’m sure there are other brands out there that offer comparable units you could pick from, but having had three of their T1500 units for years I’ve found them to be winners.
Handheld and head torches
For handheld touches, I’m personally a fan of the brand Ledlenser. They come in a range of sizes from pencil size, to medium and large single-handheld units. They’re not super cheap, but not overly expensive either, and will last you a lifetime when taken care of.
A simple head torch is a handy bit of kit for camping too, giving you hands-free ability for eating, cleaning up after dark, or walking to the latrine at night.
Ledlenser also makes a range of head torches, but they’re a bit pricey for my purposes. If you were a regular night-time runner, hiker, or using it for work, I can see one of their head torches would be a good investment. For just bopping around camp though, a simple Eveready head torch does me fine, and was only about $30. It too has a range of brightness levels, including a red color mode to be easy on your eyes, and runs off a pair of AAA-size batteries that will last several trips.
Tools
Hammers, hatchets, mallets, and more…
There are all sorts of tent hammers, peg mallets, multi-function tools, stake removers, etc., but the trust old hatchet can serve all these purposes 99% as well as the dedicated tool.
For many years I have used Fiskars axes (and been to their manufacturing plant in Billnäs, Finland) and found them to be great in terms of performance, ergonomics, and durability. Again, they’re not super-cheap, but the quality is excellent and they will last you countless trips.
I would suggest something like their X18 Universal Axe. It’s not a log splitter, you’re not going to be carving up tree trucks with it, but for clearing small branches, collecting kindling, hammering tent and awning pegs with the backside, and running the edge down the side of a peg in the dirt to loosen it up, it’ll do all this without the need for additional tools.
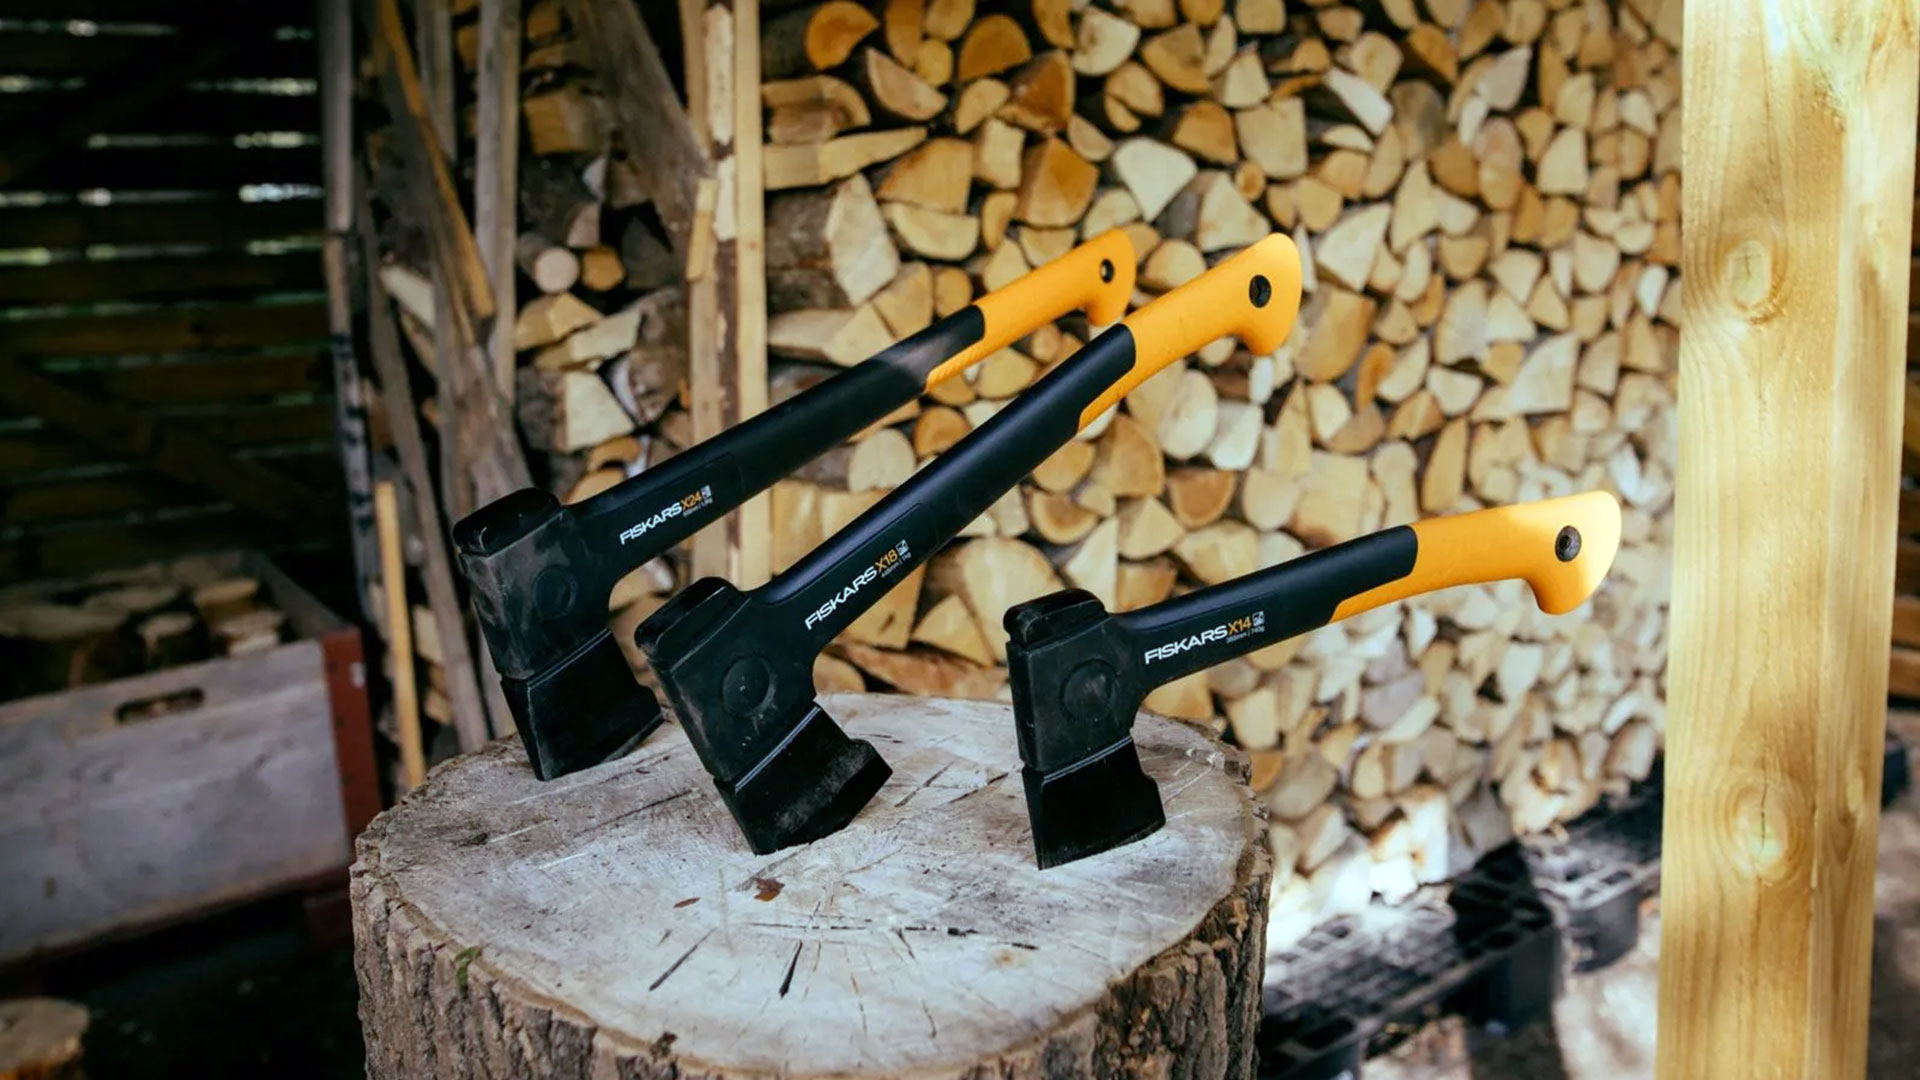
The X18 is a 44cm (18″) hatchet weighing 1kg (2.2lbs). There are shorter, slightly lighter options like the X14, for the minimal size/weight difference, the extra length and mass of X18 make it that much more effective and easier to use. The trade-off isn’t worth it for the shorter version, in my opinion.
(For larger wood, see why a chainsaw should be part of your camping and 4WD kit.)
Shovels
A search for “camping shovels” will bring back a lot of folding, compact shovels, normally around 40-50cm (15 – 20 inches). To be blunt, these are a pain in the ass to use. They’re awkward, and getting proper leverage on them in tough ground can be exceedingly difficult.
For ultra-light camping/hiking where size/weight is the priority over all else, the above is a sensible choice, but wherever possible a standard full-length shovel you can put your foot and whole body weight on is much easier, faster, and useful; for digging fire pits, latrines, and digging your way out of sand if beach driving is your thing.
A full-length shovel is easily transported on your roof rack, there are plenty of options for mounting, and is money well spent. If you can’t go with the roof-rack option for whatever reason, there are two-part full-length shovels that screw together in the middle – much like a pool que – that are a better second option than the compact camping shovels.
Happy camping
Ultimately what is the right setup for you depends on your activities and wants, but the above should be a good starting point for would-be-campers. Get a few trips under your belt with a modest kit to start, and then you can add any further items if you’ve proven to yourself you’ll use them.
Read section again:
Sleeping
Shelter
Campsite equipment, cooking, food and water
Lighting
Tools
# Camping checklist, camping kit, what you need for camping trips.

