Image credit: Yota Xpedition
Snatch recoveries are perhaps the most common recovery technique employed off-roading. When done correctly they're relatively simple, safe, and quick, but, there is a right and wrong way to do it.
What is a snatch recovery, and when to do one
Snatch recoveries are ideal when a vehicle is stuck on a low-traction, but relatively smooth surface, e.g., bogged in the sand on the beach, snow, or a long, straight rut in the mud. A vehicle that still has traction is lined up with the bogged vehicle, connected via an elastic strap, and accelerates to pull the bogged vehicle out.
As simple as that sounds, plenty of people get it wrong and end up damaging their vehicles, without even completing the recovery.
Also note, a snatch recovery is not appropriate for rocky or heavily rutted areas where getting pulled into/over larger obstacles or holes will create additional resistance; in these cases, winching out would be a more appropriate recovery method, to avoid risking damaging suspension or breaking recovery equipment.
Gear you need in your snatch recovery kit
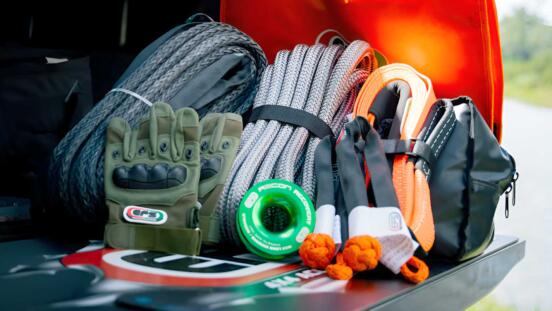
- An appropriately rated snatch strap, or kinetic rope
- Rated recovery points on each vehicle
- A bridle; also called an equalizing rope (optional, situation dependant)
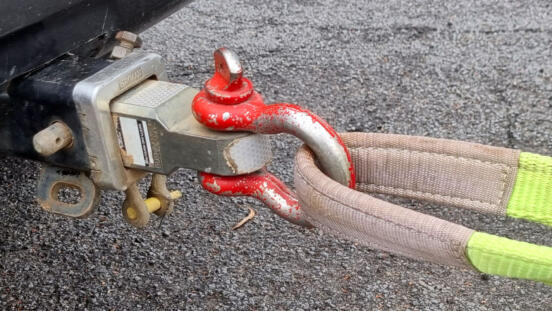
- Rated soft shackles, or steel bow shackles
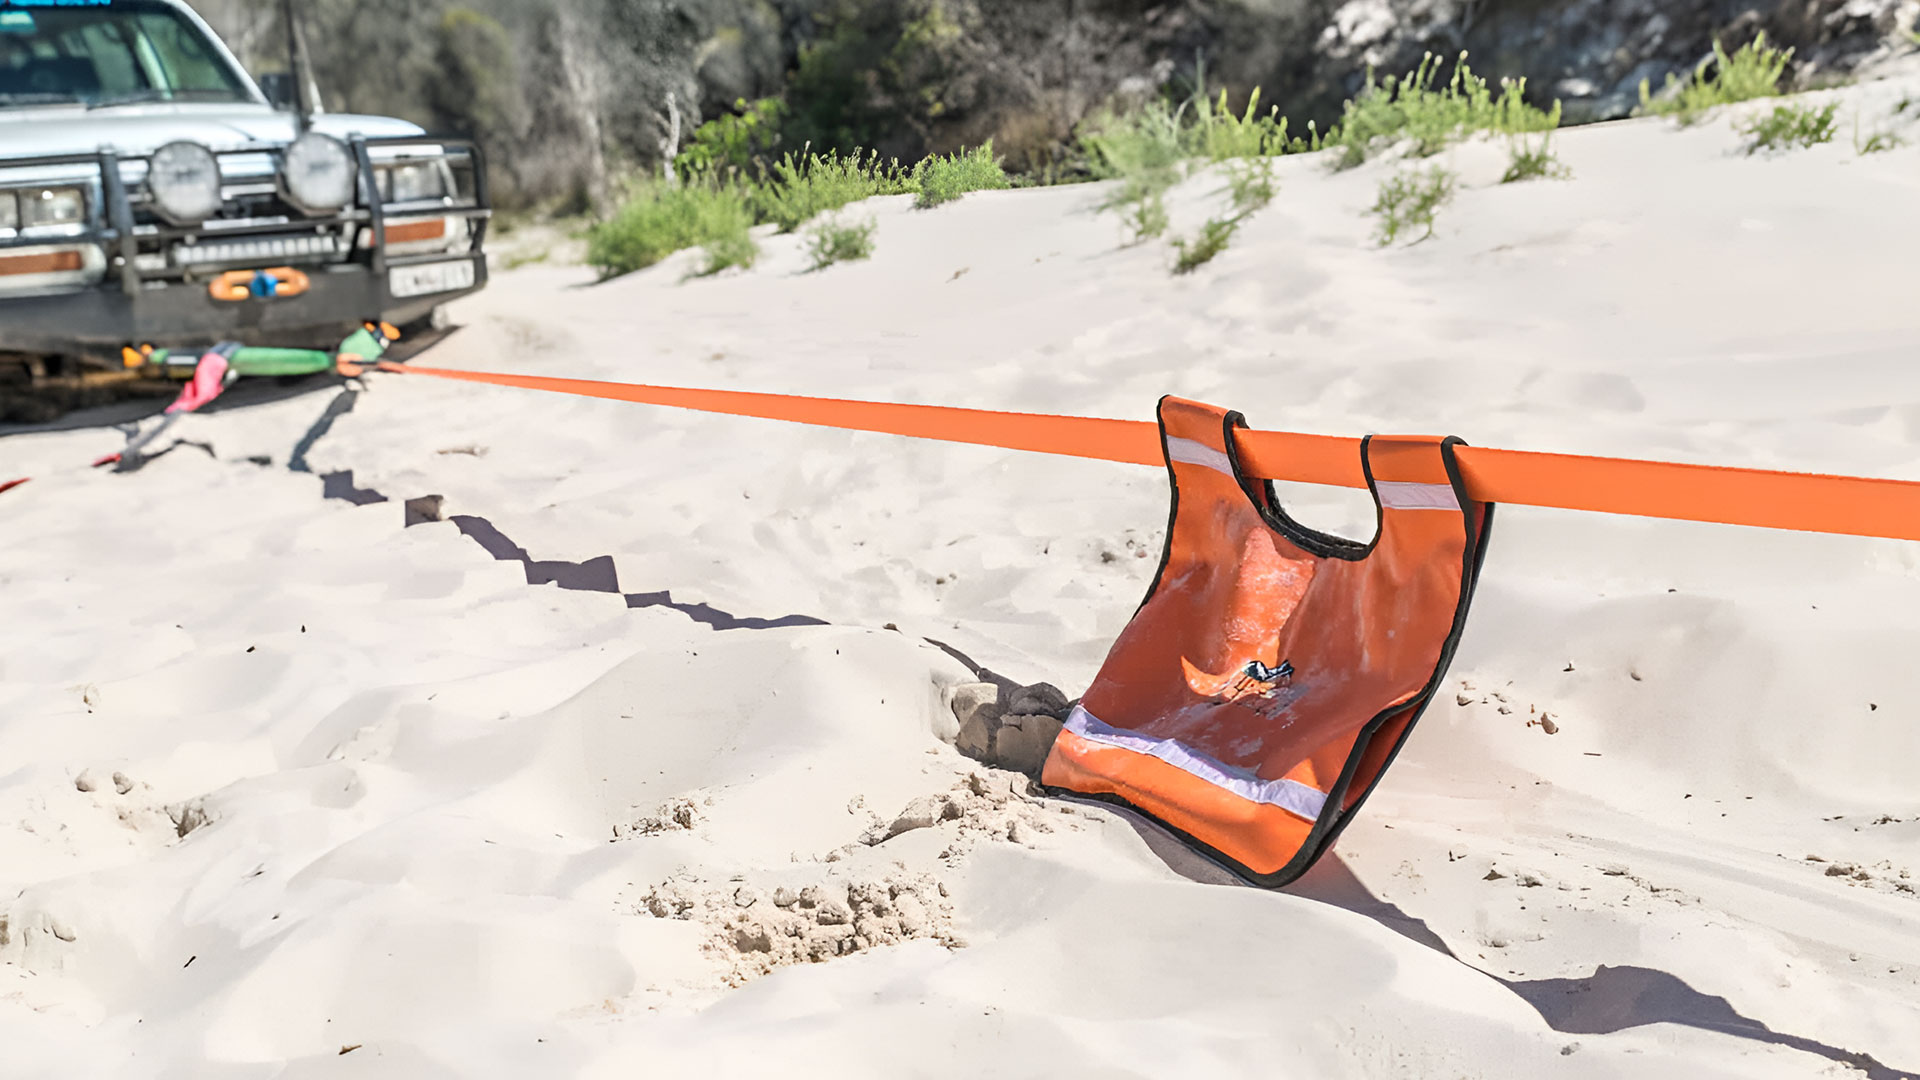
- Dampener blanket
Image credit: Overlanding Survival
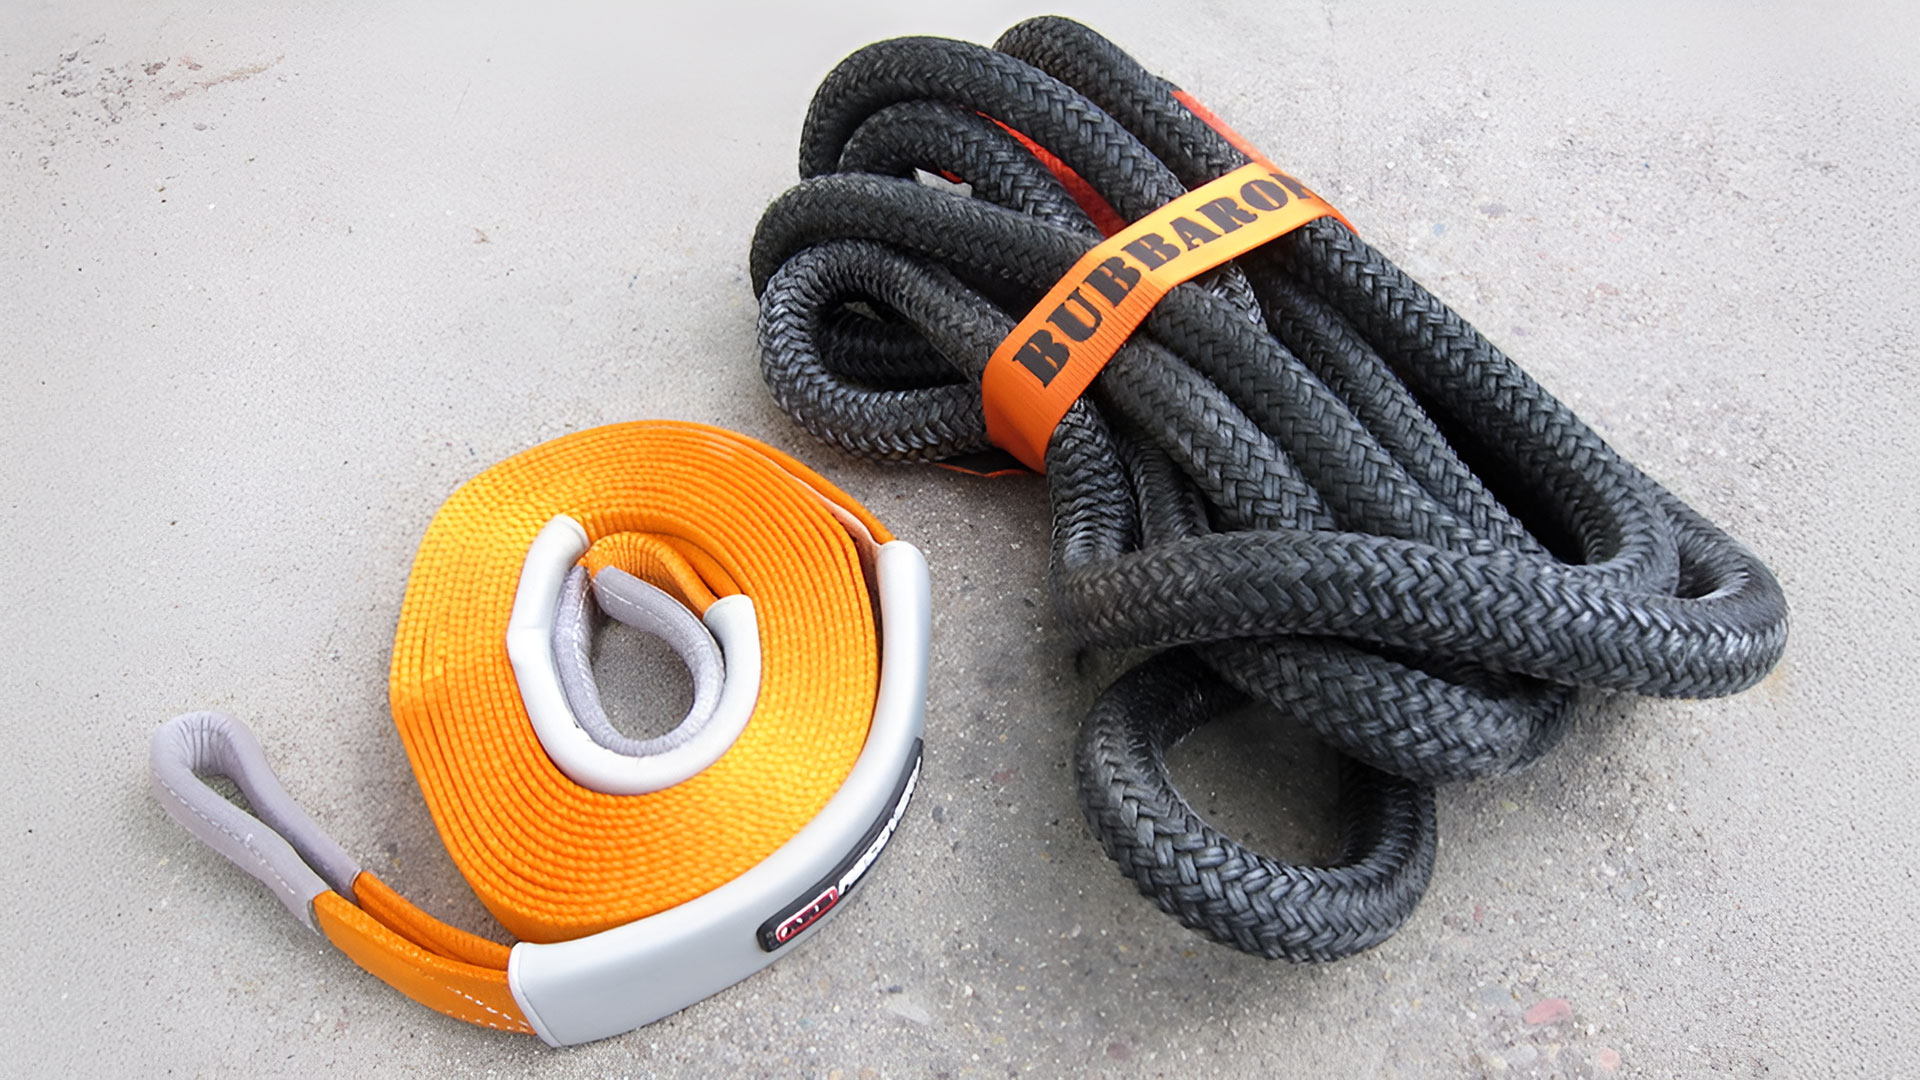
Snatch strap or kinetic rope, what's the difference
When you start shopping you'll see you have the choice between a "snatch strap" and a "kinetic rope". In principle, these work largely the same; both are a single line used to connect 2 vehicles directly together, and have an elastic component to reduce shock to the vehicles when the line goes taught.
The particulars will vary between brands, but as a rule snatch straps will have an elastic component of about 20%, and are constructed as a flat strap.
Kinetic ropes are a more recent product to the market which typically have a higher elasticity rating, around 30%; they also build a little differently with an elastic core and a more durable outer layer for additional abrasion protection.
Kinetic ropes are arguably the better modern option. Their interwoven ends provide better strength than the stitched ends of a snatch strap, they are more abrasion resistant, their increased elasticity provides a gentler recovery, and they typically float.
But, they're also more expensive, a little more bulky, and and little heavier than an equivalent snatch strap.
On balance, I'd recommend a kinetic rope for first-time buyers, but that said, snatch straps have served off-roaders well for decades. If resources or availability prevent you from getting a kinetic rope, a strap will still do the job.
If you already have a snatch strap in good condition, I'd also say there's no need to go out and replace it with a kinetic rope immediately. Wait until your strap needs replacing, and take the opportunity to upgrade at that time.
(For the sake of brevity though, for the rest of the article I will just refer to rope.)
What capacity strap/rope to get?
Ropes come in a huge range, anywhere from 8,000 - 50,000kg (17,000 - 110,000lbs).
A widely adopted rule of thumb is to use a rope between 2-3 times the weight of your vehicle, anything more than 3x is really overkill. Heavier duty ropes will cost more, and also require more space, while not providing any real benefit.
If towing a trailer, camper, boat, or caravan, select a strap for their combined weight.
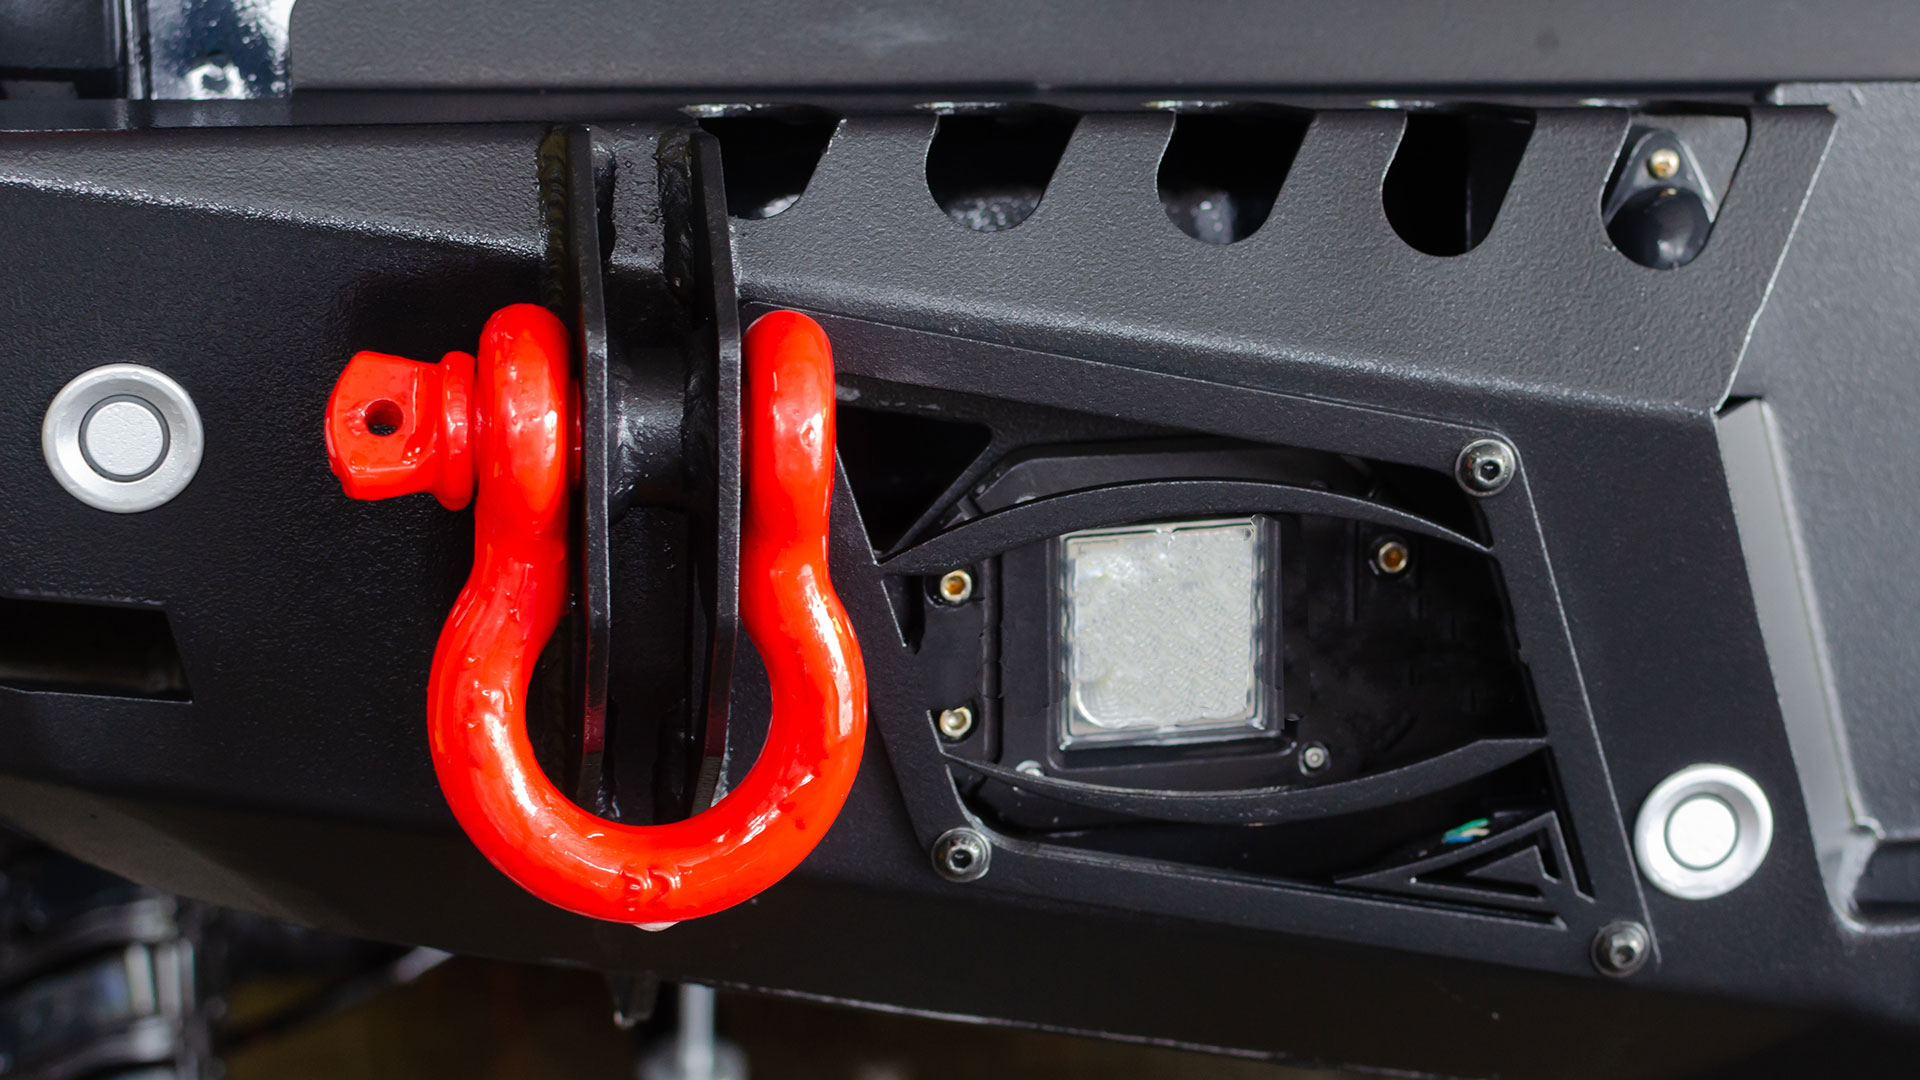
Rated recovery points on each vehicle
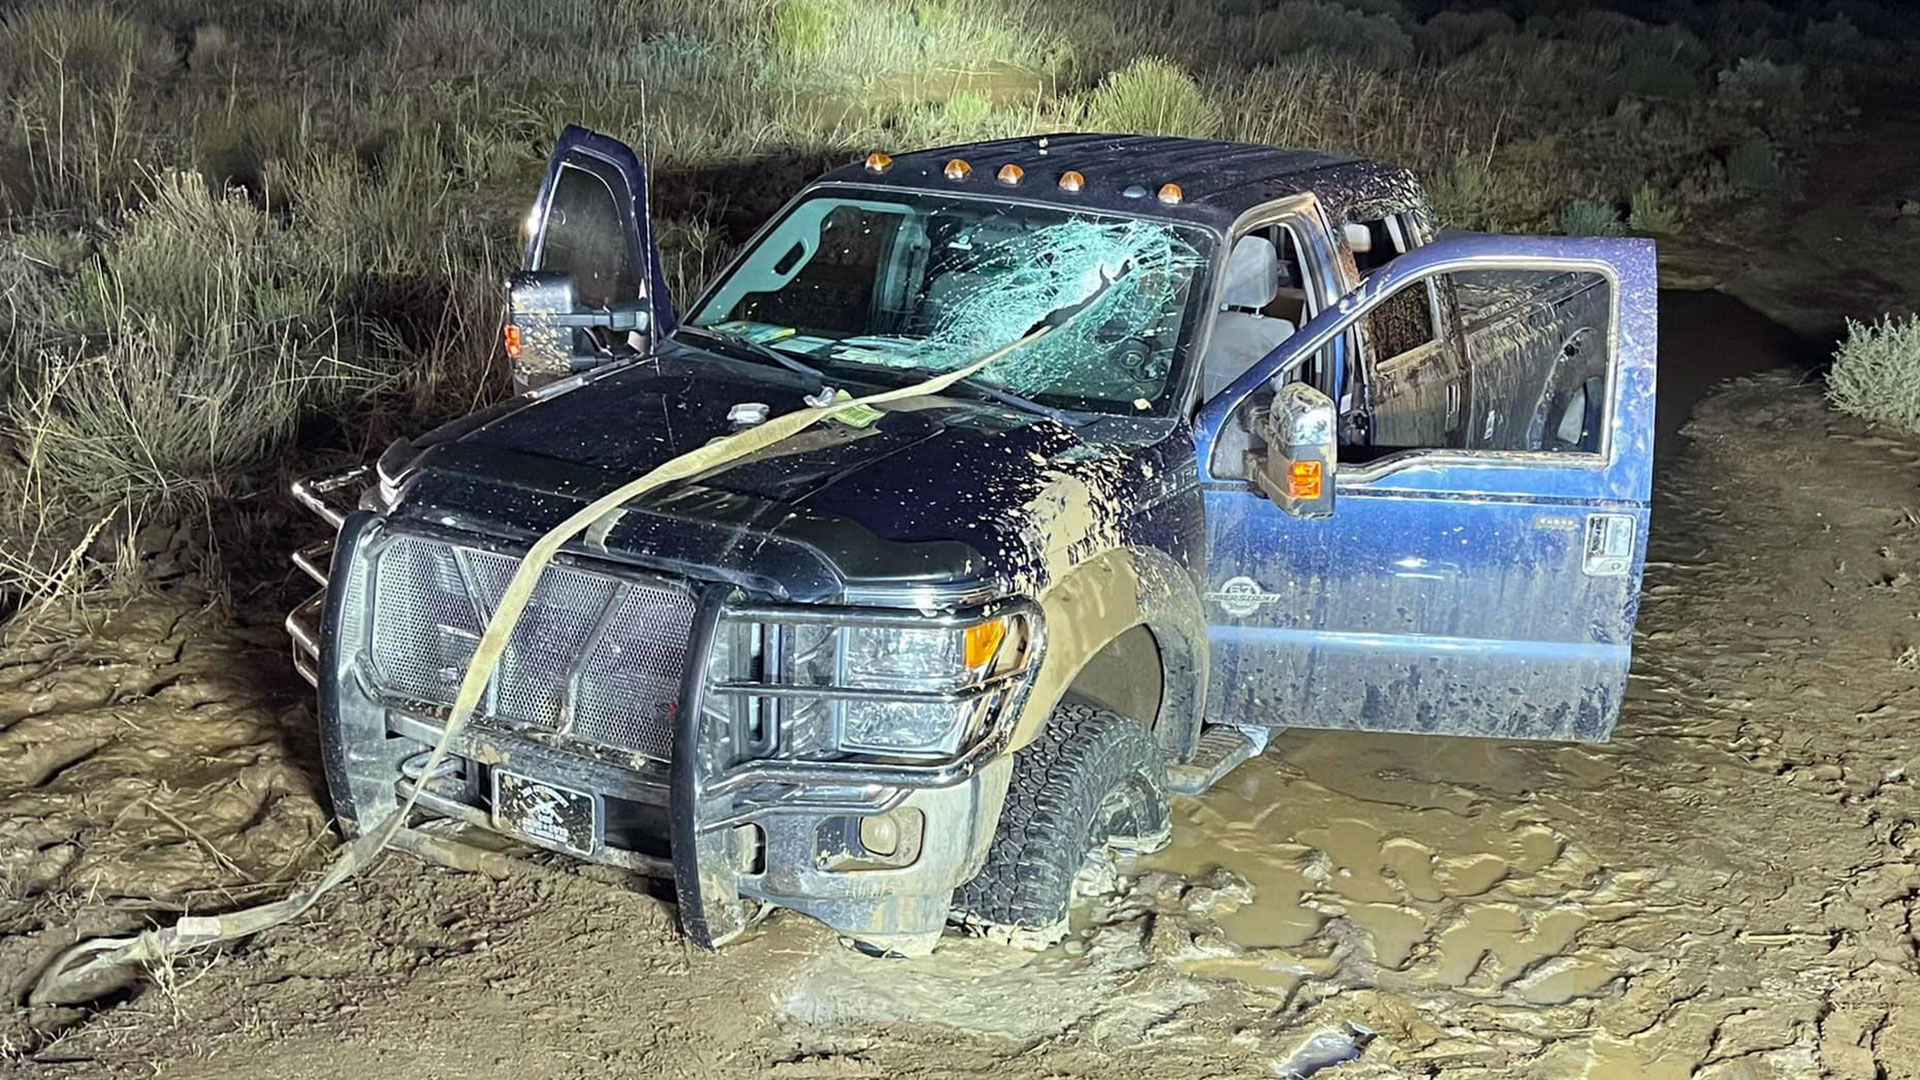
Do not perform a snatch recovery using your factor tie-down points, or a towball. Ever. Period. These are not designed for the loads involved in recoveries and are likely to sheer off, potentially carrying a huge amount of force with them as they fly loose. Towballs are particularly dangerous for recoveries - picture a mini cannonball flying towards you - and failures have resulted in the death of multiple drivers and bystanders over the years.
Purpose-built recovery points can be bought for less than $50 for a rear point that inserts into your towbar hitch receiver, and $100 for a pair of front recovery points. Why would you risk the below for the sake of saving $50-$100? If you can afford to buy, maintain, insure, and fuel a four-wheel-drive, you can afford some proper recovery points. Get them.
Image credit: Unknown
A bridle; also called an equalizing rope (optional, situation dependant)
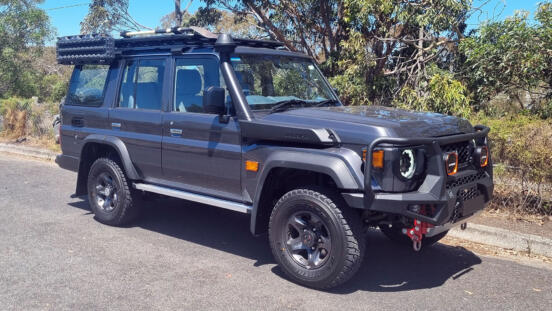
Front recovery points come in a few options. Either after-market options that mount directly to your chassis or that are integrated with your bull bar, some manufacturers provide one-side options, and others provide front recovery points as a pair; one for each side.
Often, paired recovery points are intended to be used with a bridle to spread the load between both points.
In either case, if/when dual front recovery points are mounted, even if they are rated to be used individually, a bridle provides additional control and stability for the vehicle doing the 'snatching' compared to using a single front-side mounted point. When using the single point mounted on the side, the rear of the vehicle will flick in that side's direction at the end of each pull, this will often mean you have to reposition the recovering vehicle to be in-line with the bogged one.
By using the equalizing rope, the load in spread between both sides of the chassis, and the recovering vehicle will stay pointing straight.
Related article: How to use a 4x4 recovery bridle, and mistakes to avoid
Soft shackles, or steel bow shackles
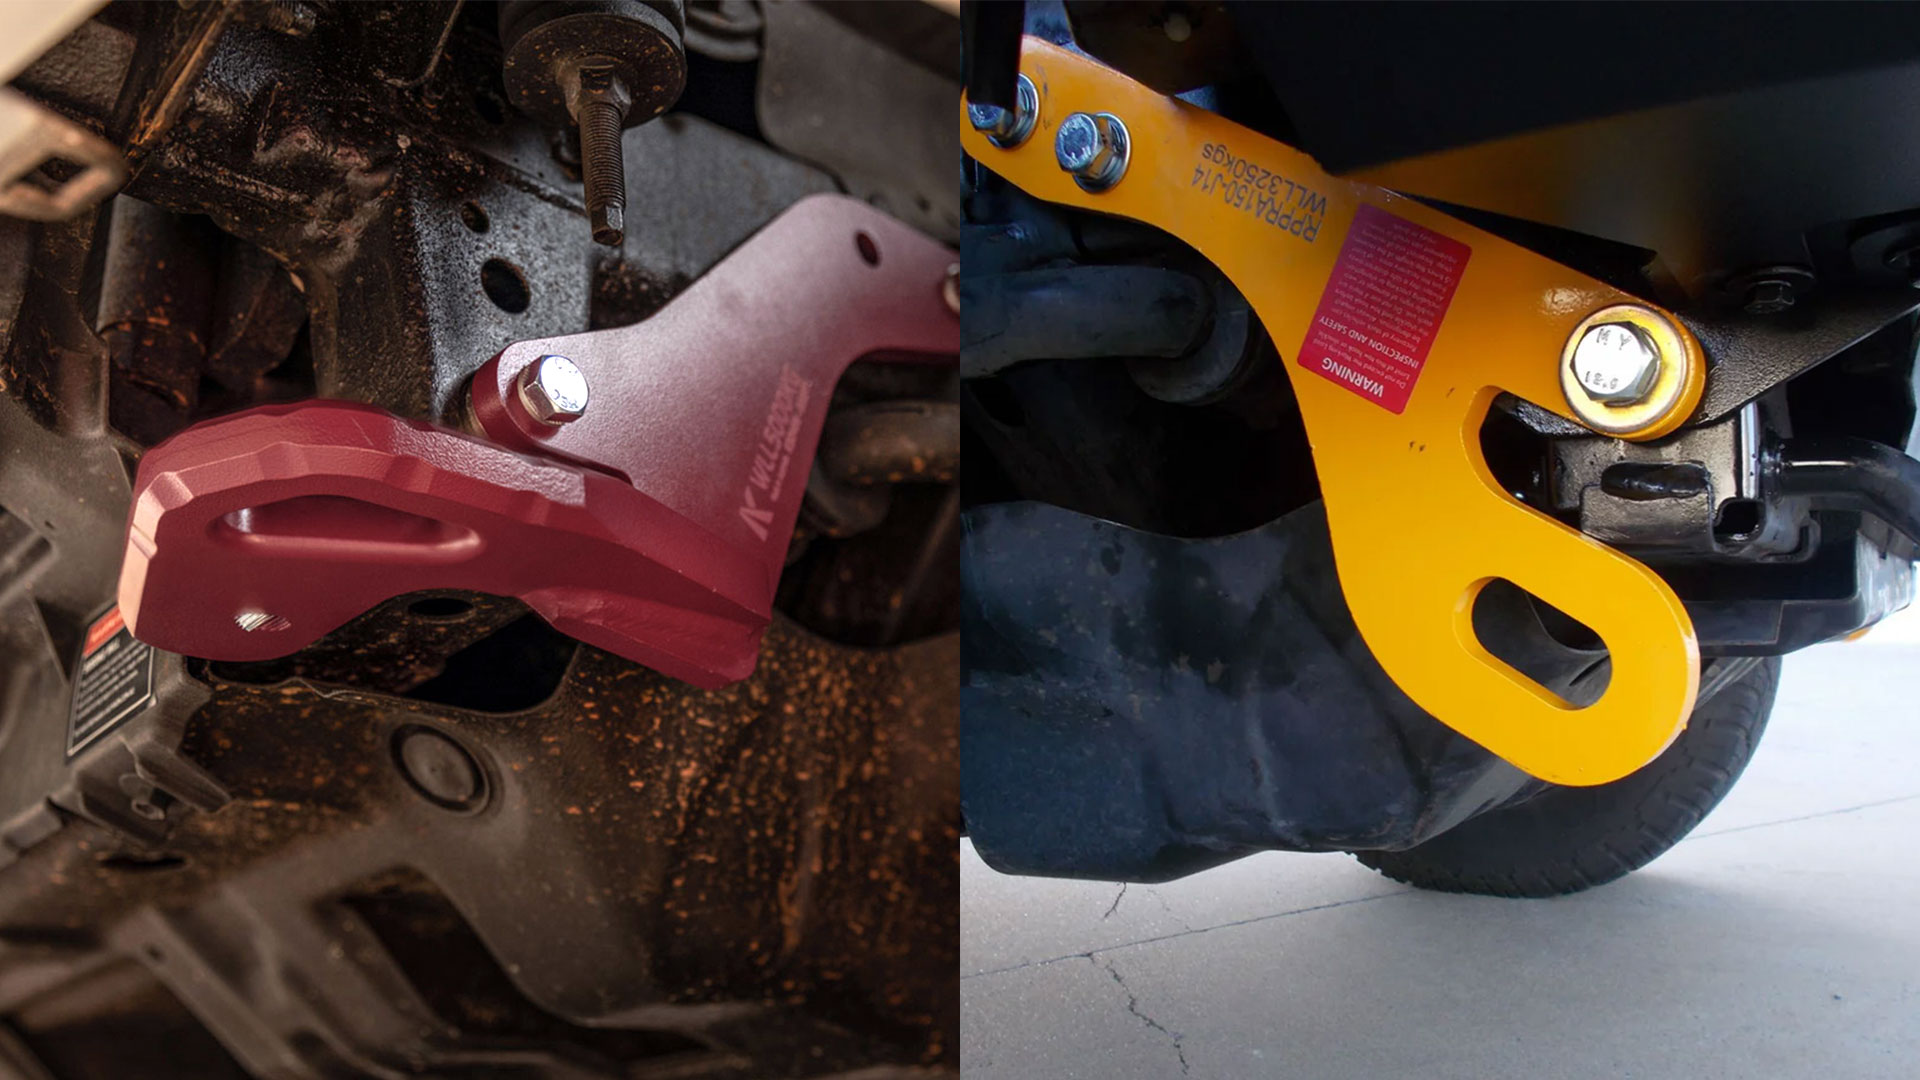
Soft shackles have several advantages over conventional steel bow shackles. They're far lighter, easier to handle, and in the event of a break (however unlikely that is) are safer than steel. For the most part, they're a better choice, with one caveat; the style of your recovery point.
The Kaon Prado 150 recovery points, for example (above left), have rounded edges designed to be soft shackle friendly. Many other recovery points designed with only steel shackles in mind have an opening cut straight down, creating a 90° steel edge that will cut your shackles under load.
If your recovery points are like the latter, steel bow shackles will be a better choice for connecting to those points.
Dampener blanket
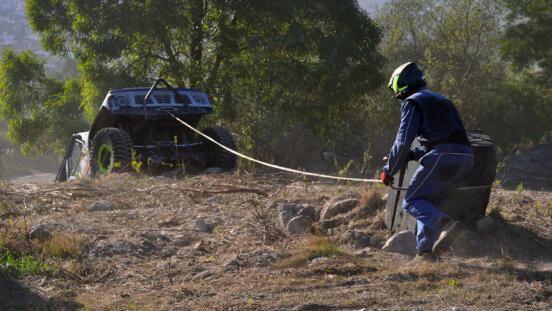
A dampener blanket (also called a damper) is a weighted blanket that sits over your winch or snatch strap during recovery. In the event the line breaks under load, rather than flying back directly towards the vehicle, the weight of the blanket will direct the line into the ground, for additional safety and reduce the chance of it hitting a vehicle or person.
Performing the recovery
Connect one end of the strap to each vehicle using the appropriate recovery points, and ensure there are no twists in the line as you run it out from one vehicle to the other.
Note: the technique for performing a snatch recovery is not to just drag the bogged vehicle out through brute force, as it might seem, what you're aiming to do is use the elastic properties of the rope/strap to gently pull it out with the minimal amount of shock/force required.
- To start, both vehicles should be in low-range 2nd gear.
- In the recovering vehicle, start 2 meters from the bogged vehicle.
- Apply some moderate acceleration (you're not trying to do a drag strip launch).
- When you reach the end of the slack you'll feed the rope stretch, and as it reaches the end of its elasticity the bogged vehicle will be pulled forward while you will be slowed down. This is normal, just maintain your speed and see if you can drive through the end of the pull. Don't suddenly floor it if you feel yourself coming to a stop before the bogged vehicle is out. Remember, you're not necessarily trying to pull the bogged vehicle out in a single shot. It may take a few goes depending on how bogged the vehicle is, and how long the low traction area is.
- The driver in the bogged vehicle should also be applying a modest amount of throttle during the recovery to assist, but again, they are not going for maximum power. You don't want to get them unbogged, only for them to suddenly get traction under full power and rear-end you.
- If the bogged vehicle isn't free on the first attempt, increase the slack in the line to 3m to allow a little more speed, and increase the power in the recovering vehicle slightly.
From here, no more slack should be added to the line for further recovery attempts, just increase the power gradually on each further attempt. Slow and steady is the trick with snatch recoveries, after going up a few increments each time, within a few goes the bogged vehicle should be free.
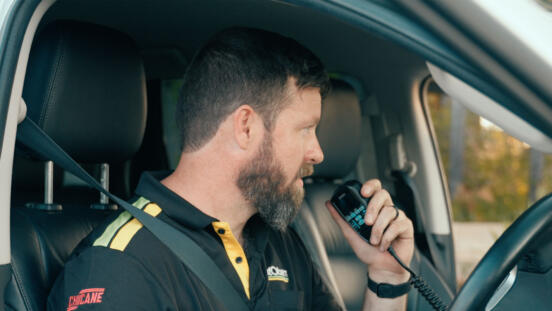
Once the bogged vehicle is free and able to move under its own power, the driver should radio or signal the recovering vehicle to let them know you're done.
That should be it.
Time to pack up and be on your way.
Read section again:
Snatch recovery equipment
Snatch straps vs kinetic ropes
Rated recovery points
Equalizing ropes
Soft shackle vs steel bow shackles
Performing a snatch recovery
